Contact Center Setup & Usage Guide
Document Metadata
Category: Customer Portal / Contact Center Installation
Audience: Administrators, Engineers, Support Team
Difficulty: Intermediate
Time Required: Approximately 20–40 minutes
Prerequisites: Active ConnexCS account, administrative access to the Customer Portal module, and required permissions to install and configure contact-center features in the portal
Related Topics: Customer Portal – Contact Center Overview, Portal Access Configuration, Customer Dashboard, Contacts Management
Next Steps: Follow installation steps to enable contact-center features in the Customer Portal, assign roles and permissions, test portal login and functionality, and verify integration with existing customer and contact data
Install Contact Center App
- Login to your Control Panel.
- Navigate to Setup App Store.
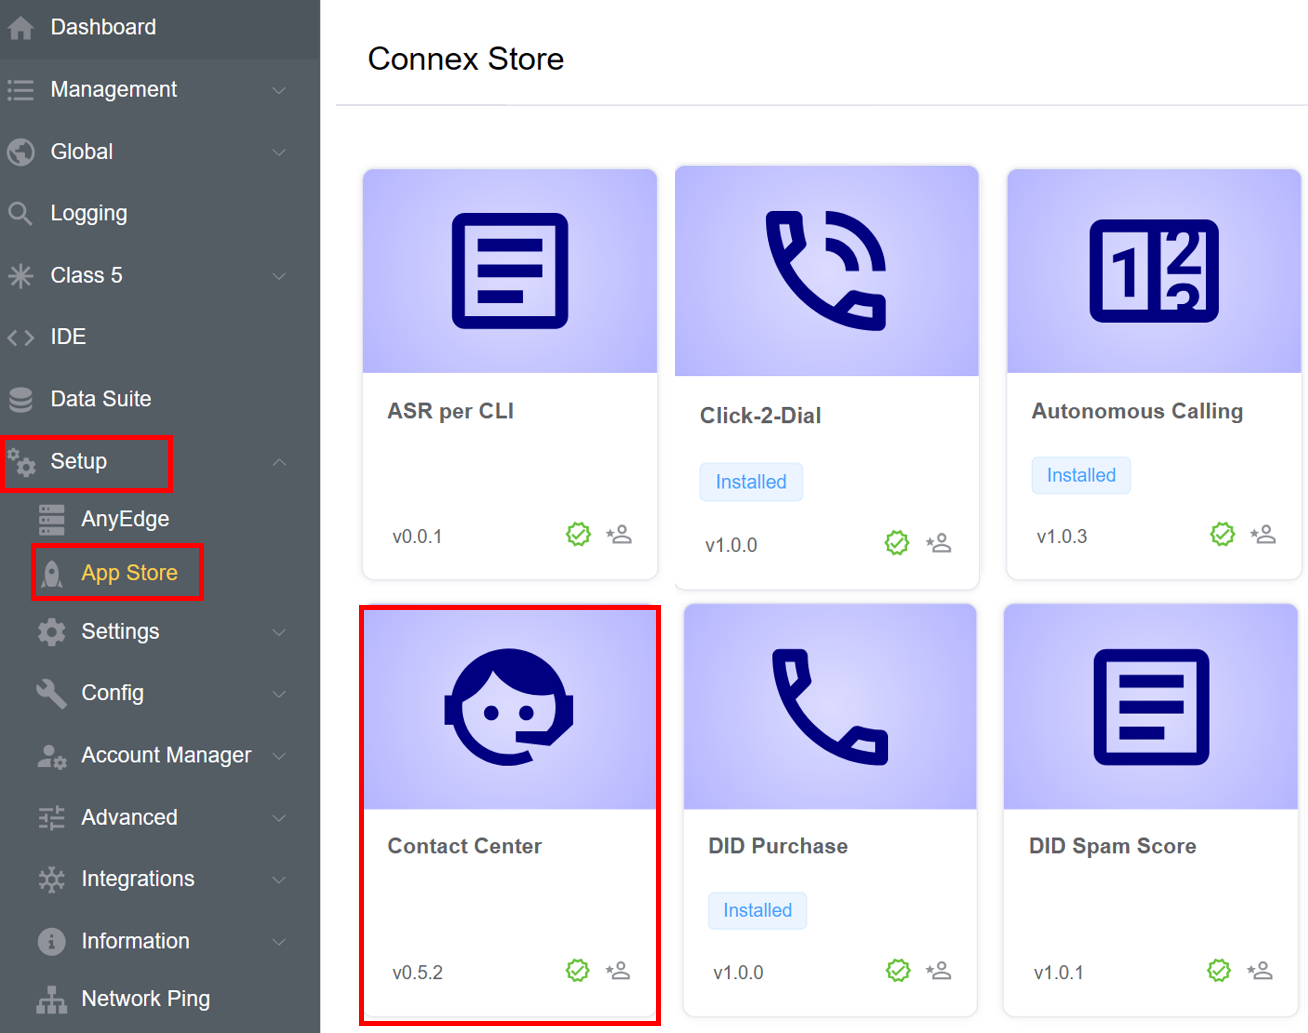
- Click on the Contact Center application. Click on
Install.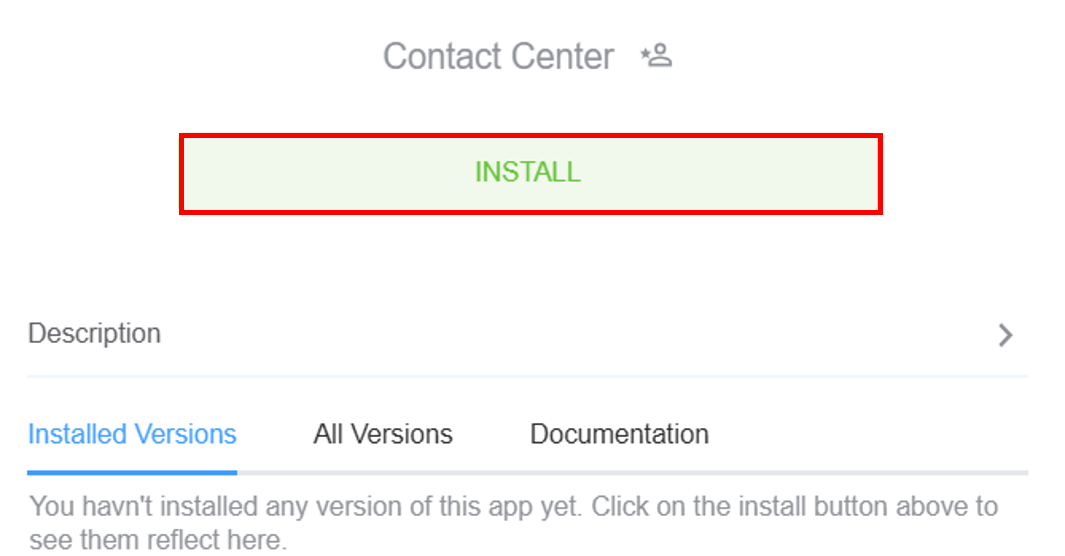
- Modify the
App Name(optional) and select the appVersion(optional). ClickInstall.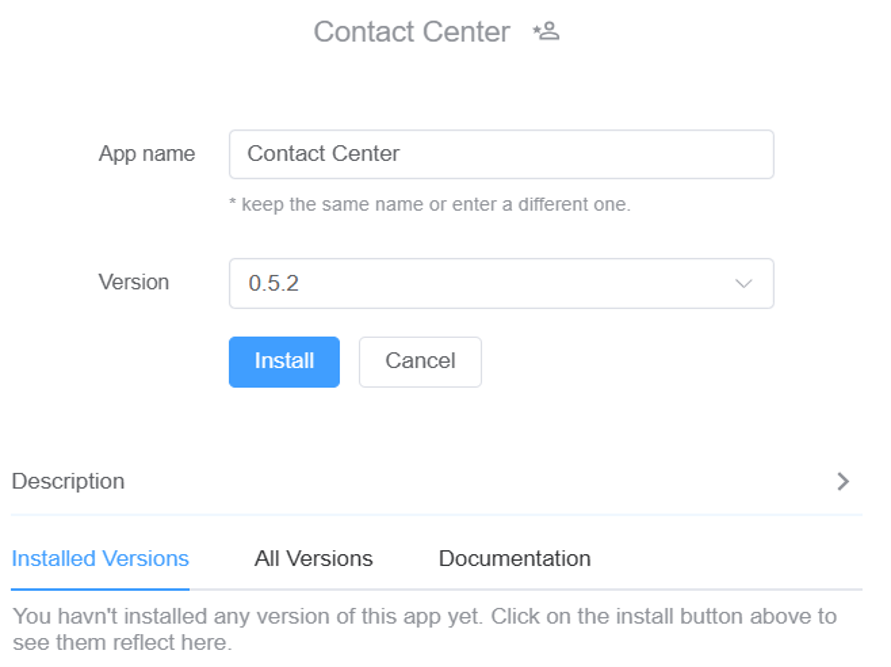
Configure the Contact Center App
-
Click on
Config.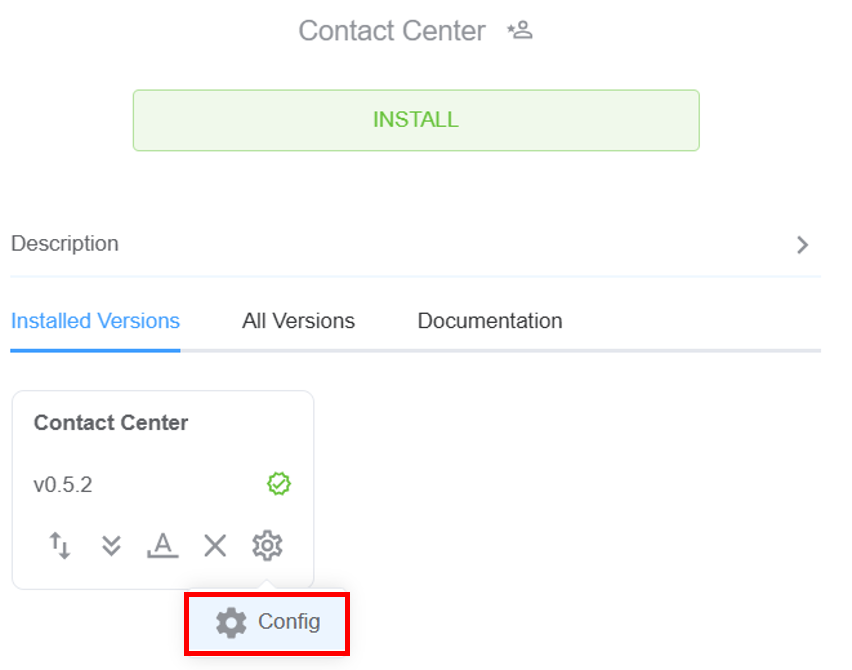
-
A window will pop-up where you need to select the
User API,Class 5 ServerandClass 4 Serverand hit theNext Stepbutton.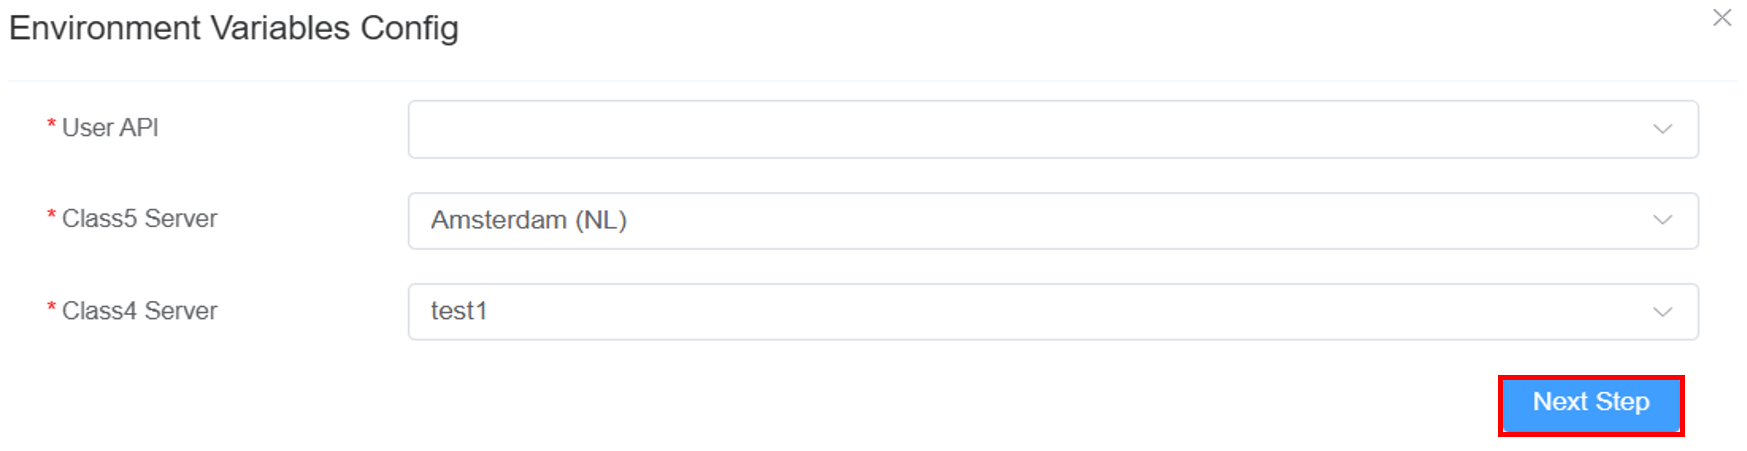
Important Note
Make sure to select a Class 4 server where WebRTC and TLS are enabled.
-
The user must select a database using the dropdown, or they can click on
New Databaseto create and select a new one. ClickConfirm.
Add the Domain
-
Navigate to IDE Select the Contact Center App (you created) Domain. Click on
Domain.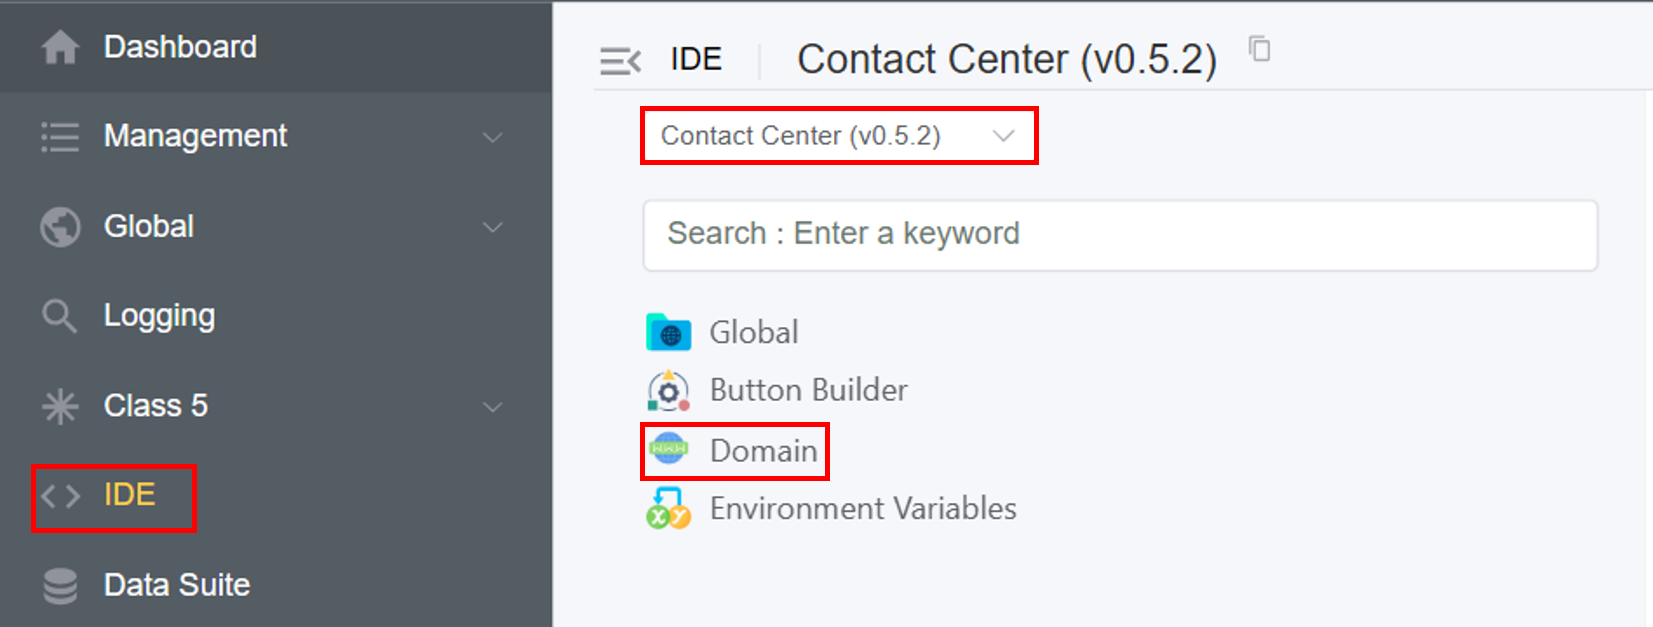
-
Click on the blue
+sign. -
Select the
Appand enter thedomainfor your dialer. ClickSave.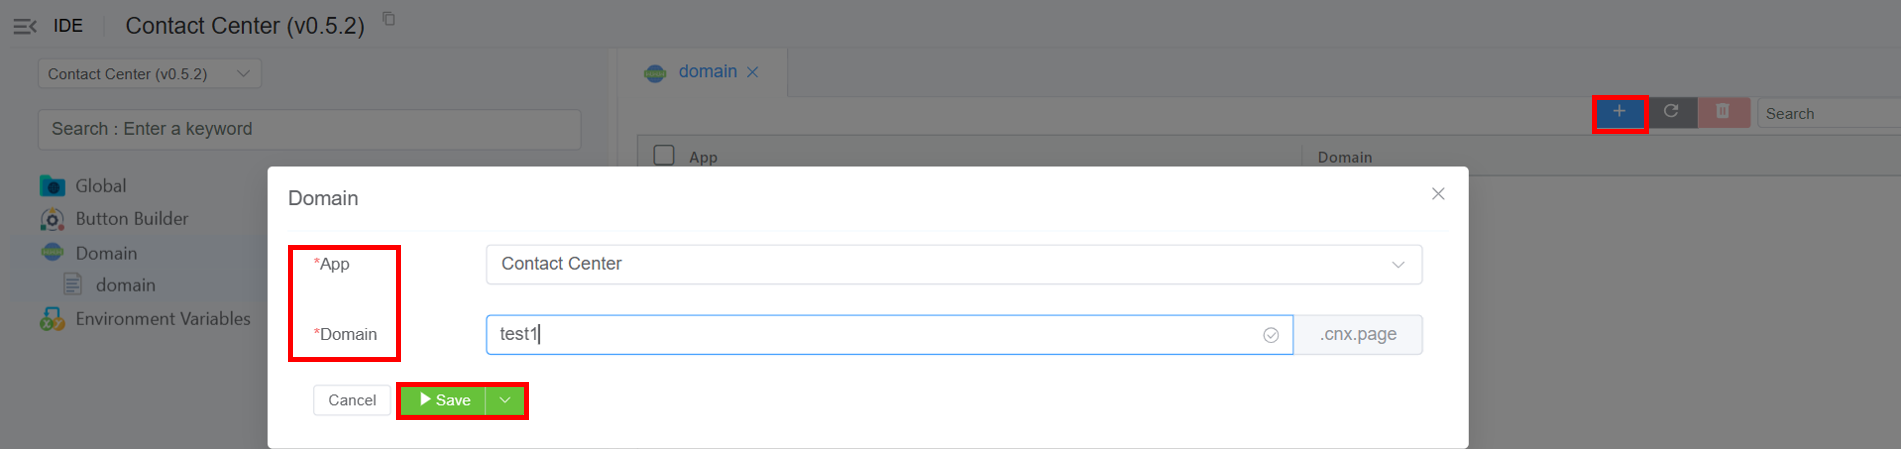
Click here to get more information on domains.
An internal number block range is required to create agents.
After following the above steps, we've successfully installed the Contact Center application.
Next, we proceed to review the Contact Center application's setup process and understand its operational workflow.
You can Rename or Reposition the Contact Center button in the portal.