Project
Document Metadata
Category: Applications Platform / Project Management & Organization
Audience: Engineers, Developers, DevOps & Integration Teams
Difficulty: Beginner to Intermediate
Time Required: Approximately 15–20 minutes (to create a new Project and understand workflow)
Prerequisites: Access to ConnexCS Apps IDE, account privileges to create Projects and Applications
Related Topics: Applications – App Structure & Creation, Apps Architecture Overview, Versioning & Deployment Workflow
Next Steps: After creating a Project, add one or more applications under it; define versioning/branching strategy; for each app, configure environment variables, Pub/Sub channels, and associate components (pages, scripts, databases) — then publish and track under the Project umbrella
Introduction
A project serves as an umbrella under which various applications can be organized.
These applications may differ in versions and features.
Importantly, every application you publish must be linked to a specific project for organization and tracking.
How to Add a Project
-
Login to your account.
-
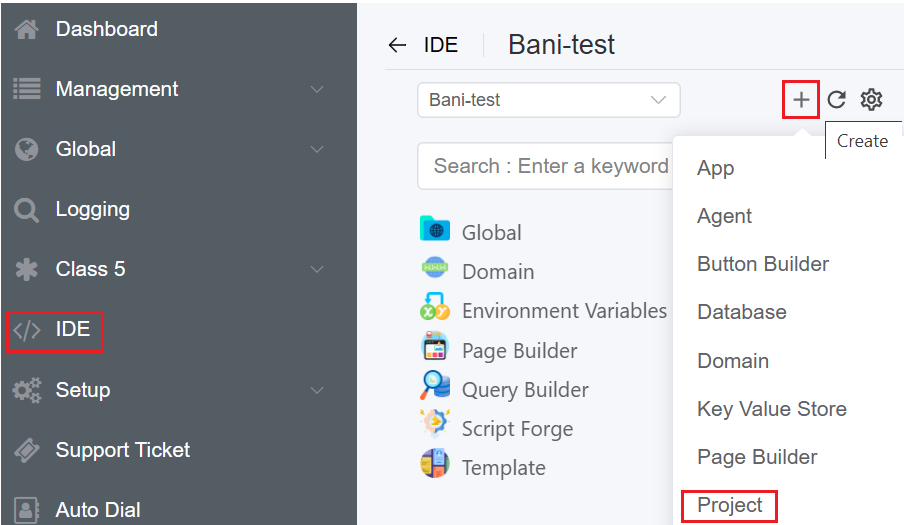
Navigate to IDE
+icon Project.
3.Fill out the following details:
- Name of the Project.
- Explain the project that you are setting-up in the Description field.
- Set-up an Icon for the Project.
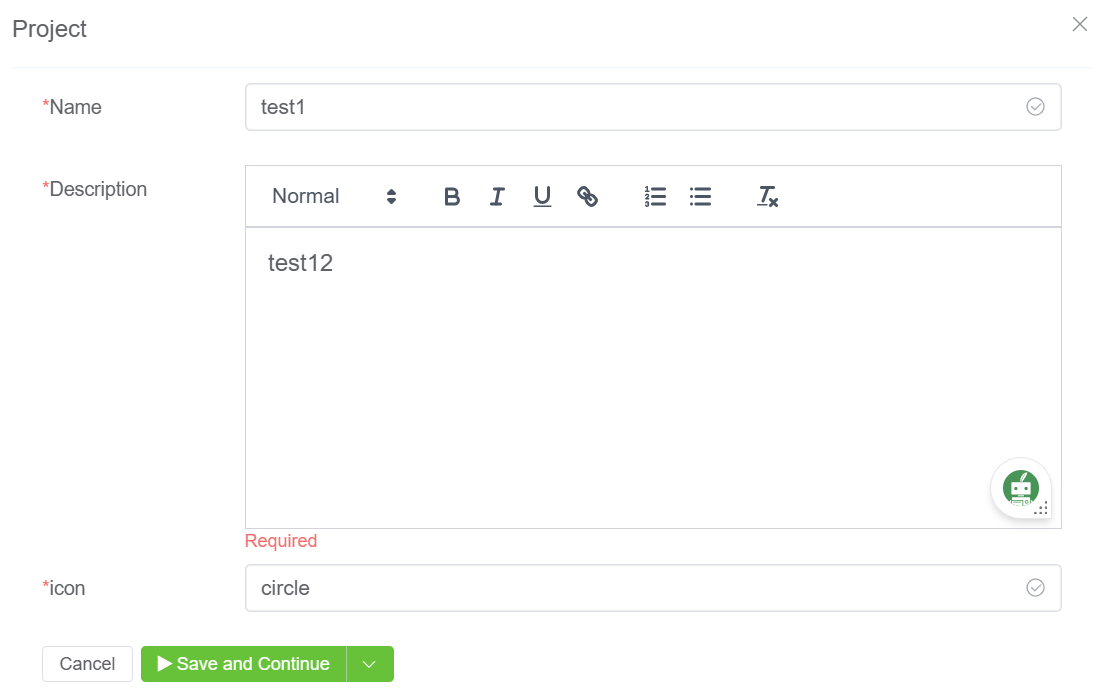
4.Click on Save and Continue.
5.The created project will be visible on the IDE panel under Project.

How to add an Application under a Project
- Login to your account.
- Navigate to IDE Select an Application to be placed under the Project Settings Publish App.

3.Select the created Project and Version and click Publish App.