Caller Line Identification (CLI)
Document Metadata
Category: Customer Portal / CLI (Caller Line Identification) Management
Audience: Administrators, Customer Success Team, Support Team
Difficulty: Intermediate
Time Required: Approximately 20–30 minutes
Prerequisites: Active ConnexCS Customer Portal account with permissions to manage CLI numbers and route settings
Related Topics: Customer Portal – DID Management, Customer Portal – Dashboard Overview
Next Steps: After reviewing the CLI Management guide, audit your current CLI assignments for accuracy and compliance, update changed customer CLIs or route aliases, set up notifications for unauthorized CLI changes, and integrate CLI usage reviews into your monthly operational review process
For a complete guide to Caller Line Identification (CLI), including routing rules, see CLI Documentation.
CLI (Caller Line Identification) (or "Automatic Number Identification") refers to the From header in Session Initiation Protocol (SIP) and represents the senders number in an outgoing telephone call. It's the technical term for the Caller ID mechanism.
In VoIP systems, CLI is more than just a way to display the number of incoming calls. It serves as a defense against unidentified call attempts, provides information to sort incoming calls, and is an important part of billing.
On our platform, CLI allows you to restrict and allow CLIs, which then allow or restrict calls based on the match.
CLI Best Practice
It's recommended to have one Forced CLI.
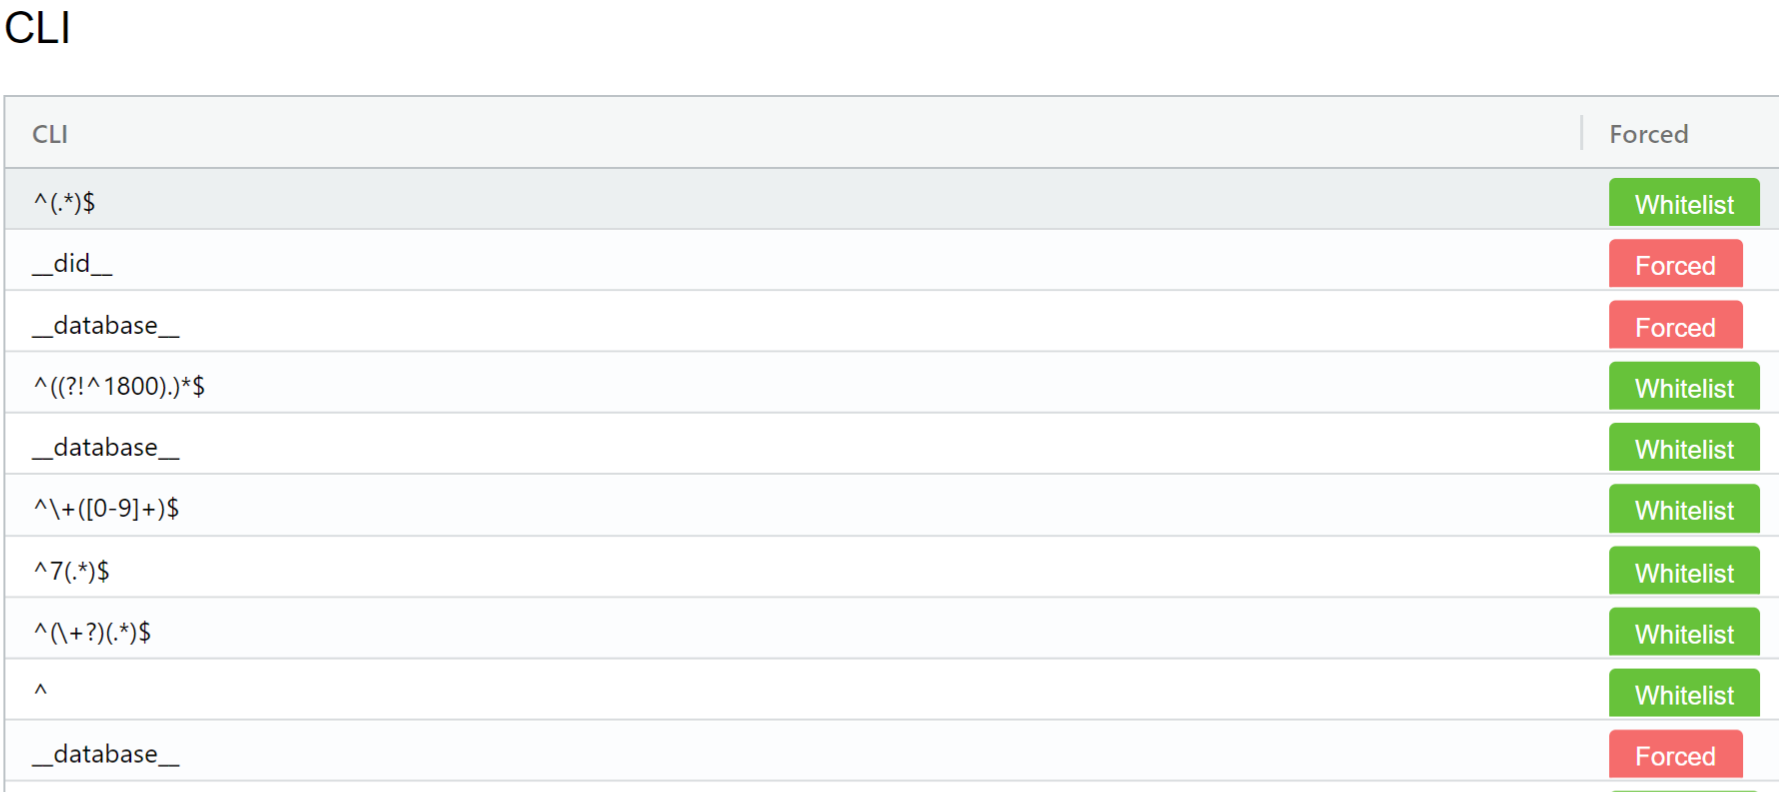
Forced
Depending on how you want to route the calls, toggle a CLI between Forced and Allow list.
- Forced: If there is no match when you select Forced, the CLI listed replaces the CLI sent on the call. For example, if you set the CLI to 111111111111, that's what's sent on any outbound calls, regardless of what's provisioned on your endpoint.
- Allow list: Setting the list to "Allow List" will permit a call if there are no specific matches.
Adding CLIs
If you want to add CLIs from the Customer Portal, please contact support to have "Approved CLIs Only" enabled.
Any CLI you add will need to get approval before it's functional here.
Note
Add Forced CLI appears when the customer has forced a particular CLI in their account.
Steps to add Approved CLIs
- Login to your account.
- Click on CLI on the left panel.
- Click on the
blue +button on the top right. - Enter the phone number with the country prefix.
- Click on Next Step.

6.You will receive a call for the Verification Code.
7.Enter the verification code and the click Verify Code.
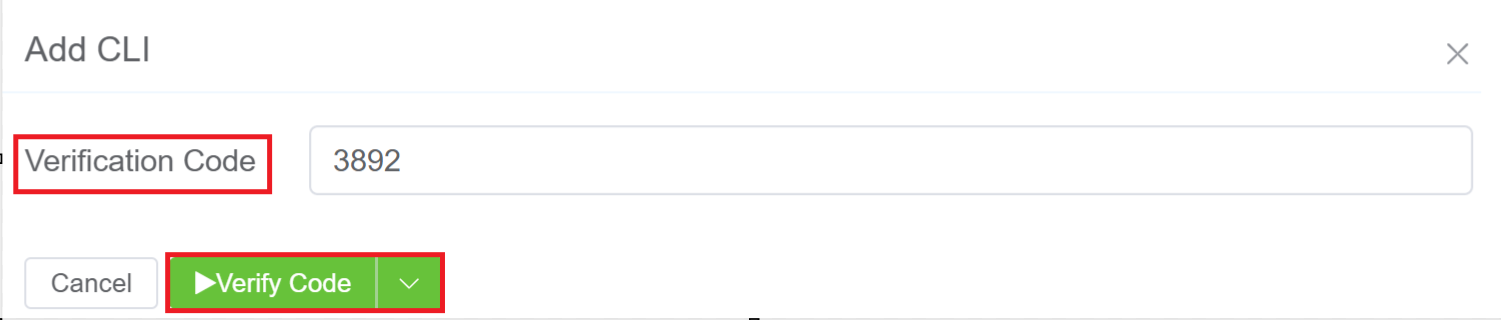
8.The CLI will be added as Whitelist. Forced CLI appears when the customer has forced a particular CLI in their account.