SIP Profile
Document Metadata
Category: Setup / Configuration / SIP Profile
Audience: Administrators, Engineers, Telecom/VoIP Operations Teams
Difficulty: Intermediate
Time Required: Approximately 30–45 minutes
Prerequisites: Active ConnexCS account with Setup-Config permissions; understanding of SIP user authentication and profile grouping logic.
Related Topics: Customer Auth (IP & SIP Authentication)
Next Steps: Navigate to
Setup → Config → SIP Profile, click the + button to create a new profile, specify a Name, define Profile Capacity, assign a set of Flags (features the profile supports), optionally assign a Barge Group, save the profile and then link it to the appropriate SIP Users or endpoints.Setup Config SIP Profile
Introduction
In simple terms, you can think of SIP Profile as a way to group a lot of users together. These users will have common features and services to use when they log in with the SIP Profile.
For example, there is a call center with 100 agents and an operator too. The operator might need some extra features than the agents. The feature might include listening to the calls or dialling certain numbers with the agents who aren't allowed to. Thus, the operator might want to have a different SIP Profile.
When someone logs into the Web Phone, they log in through their SIP Profile. They log in with the SIP User Authentication.
Steps to setup the SIP Profile
-
Go to Setup Config SIP Profile and you will see a screen as shown below. Then click the blue
+button.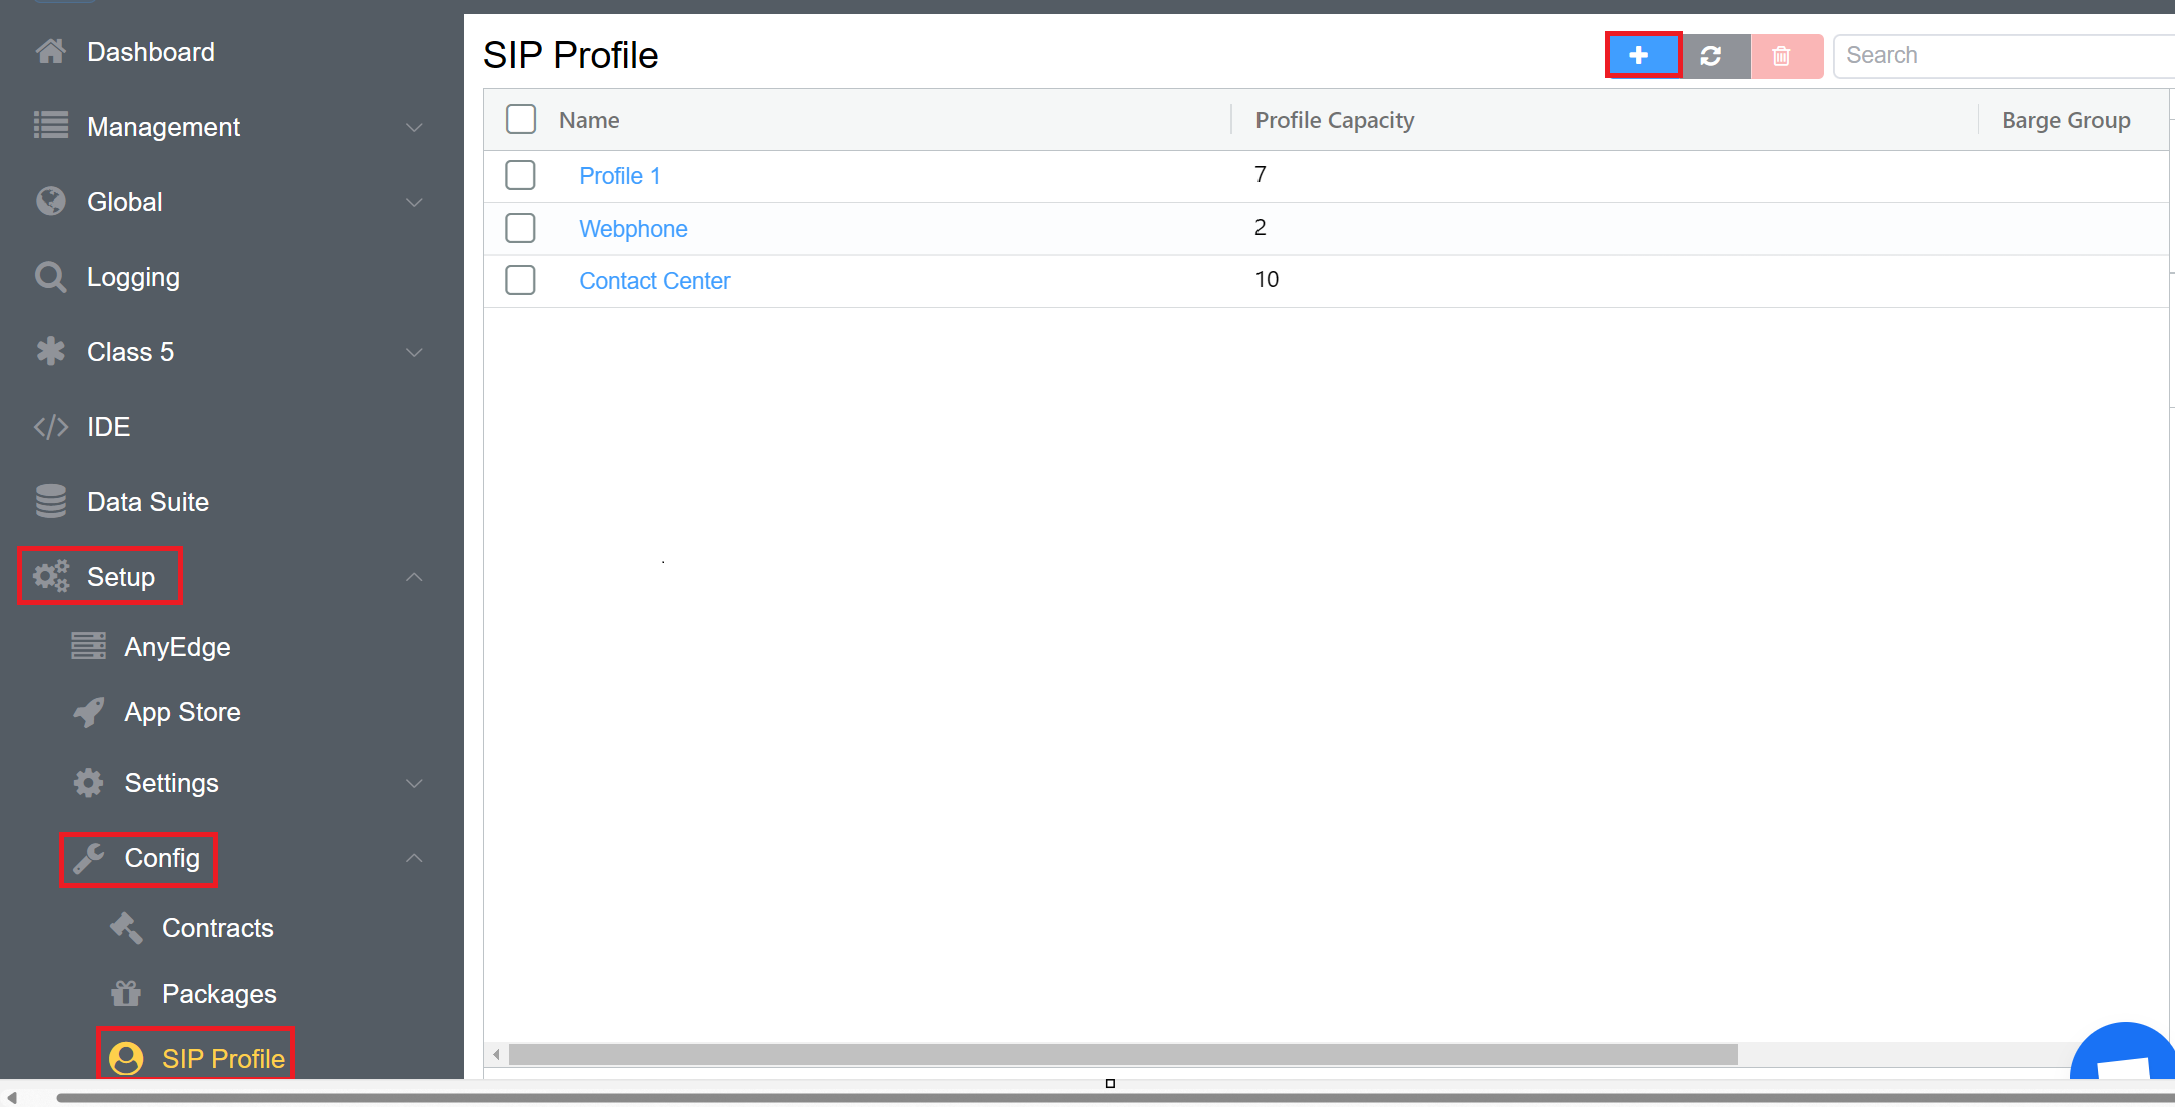
-
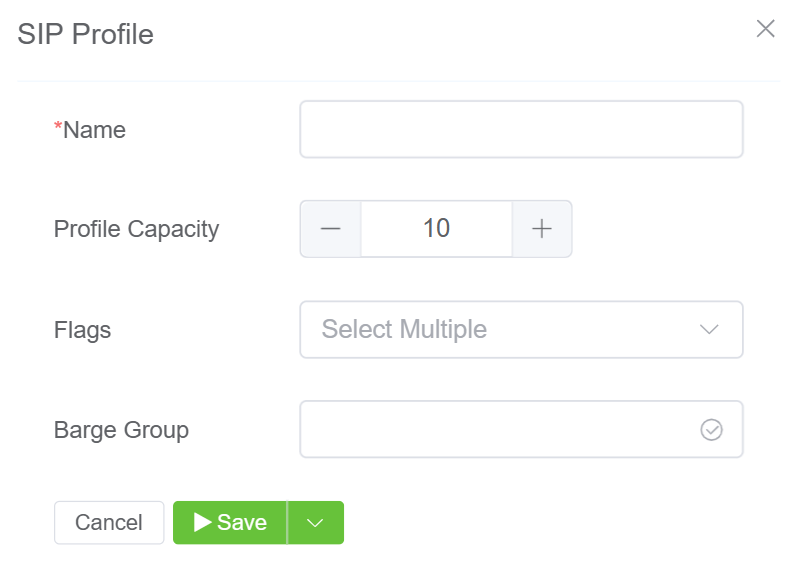
A window will appear after you click on the
+button. It will let you create a new SIP Profile. Fill in the following details.- Name: This is a required field that will display your SIP Profile's name.
- Profile Capacity: This field enables you to add the number of people who can use this profile to access the features.
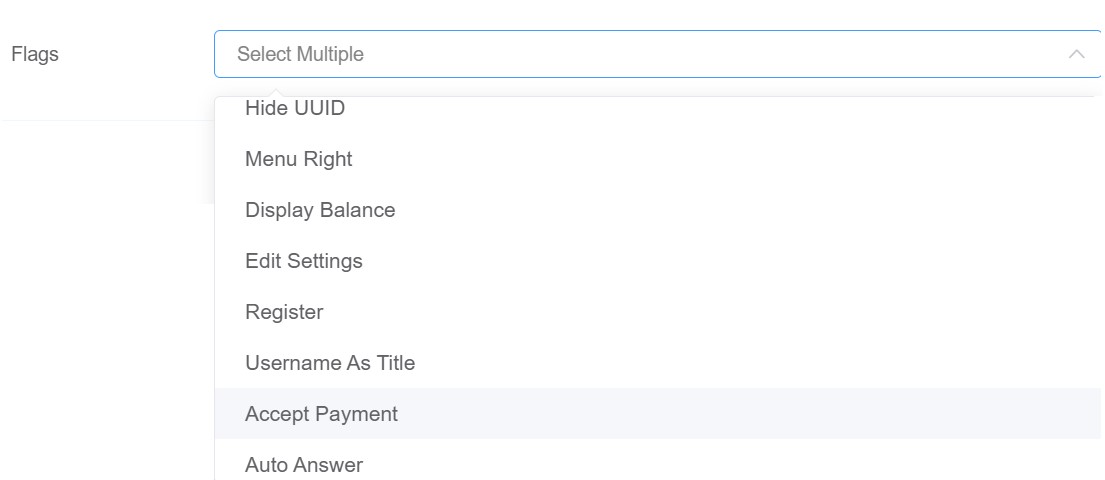
- Flags: This field allows you to select one or multiple features that the user can access.
- Barge Group: This feature allows you to add a group to a user. The user can then listen to conversations within the specified group using the Barge functionality in ConneXML-Barge Groups.
Note
The values entered should be plain text, ^[a-z_0-9]+$ only.
3.Click on Save to create a new profile.