Button Builder
Document Metadata
Category: Applications Platform / UI Components (Button Builder)
Audience: Developers, Engineers, UI/UX Designers
Difficulty: Intermediate
Time Required: Approximately 20–30 minutes
Prerequisites: Access to the ConnexCS Apps Platform (Page Builder) with Button Builder enabled, basic understanding of UI component creation and event-handling
Related Topics: App Structure & Best Practices, Modular UI Components Overview
Next Steps: Create a new button component (label/icon/colour/style), configure event handlers (onClick → ScriptForge action or external API call), ensure accessibility
Introduction
Button Builder allows users to create and customize action buttons in ConnexCS that trigger forms, execute scripts, and interact with system data.
Key Features
-
Customizable Buttons: Set button name, icon, and color.
-
ScriptForge Integration: Trigger scripts upon button click.
Create new button
- Login to your account.
- Navigate to IDE
+sign Button Builder.

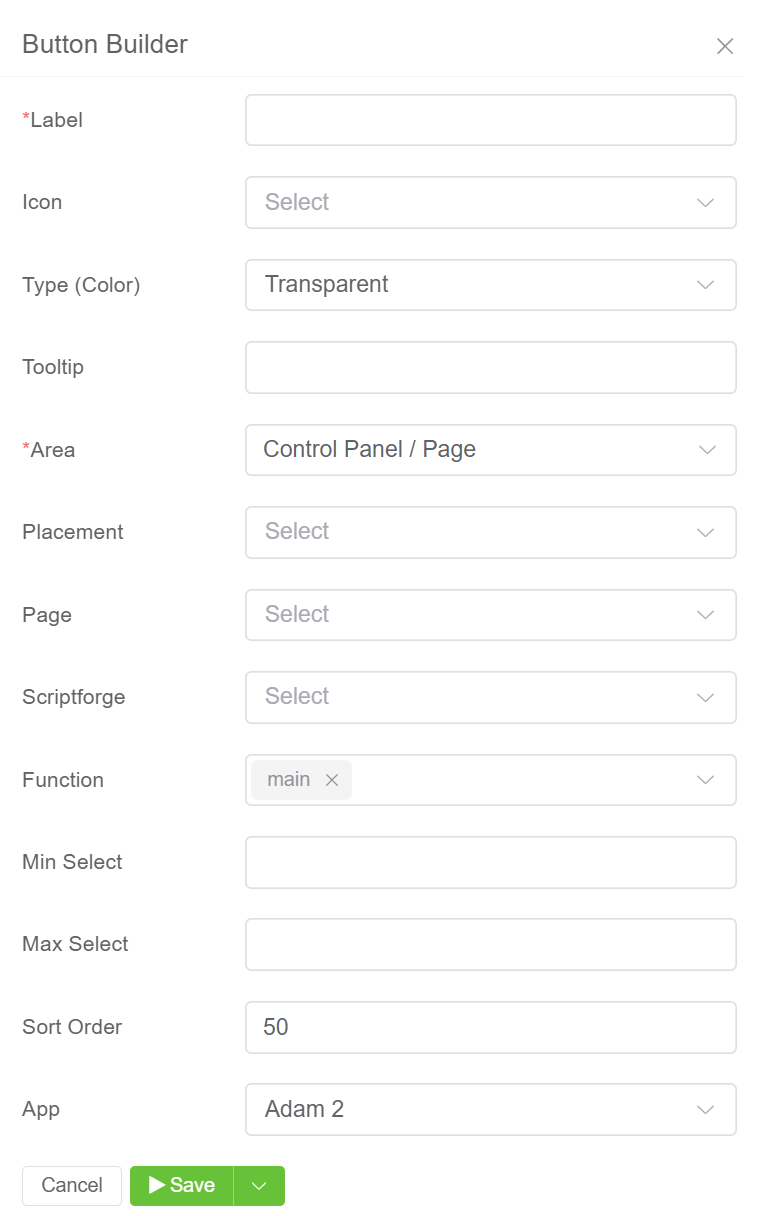
- Label: Enter the button label.
- Icon: Select an icon to display.
- Type / Colour: Select the button colour.
- Tooltip: Include a brief description of the button.
- Area: You can select the region where you place your button like Control Panel, Customer Portal or Webphone.
- Control Panel: You can place the button either on Side Navigation bar, Page or Row(App). Row(App) allows you place the button in Actions Column next to 'Publish' if the 'App' record id matches with button-builder 'app_id' then display the button.
- Customer Portal: You can place the button either on Side Navigation bar or Page.
- WebPhone: You can place the button either on Side Navigation bar, Page or Footer Navigation.
- Page: Page is the dynamic page that the button opens when clicked.
- ScriptForge: When you click the button, select Script Forge (if any) to launch.
- Function: It has 2 uses:
- The selected function will executes when you select ScriptForge.
- When using services like the WebPhone, the function can perform additional tasks on the page, like placing or terminating a call.
- Min / Max Select: When there are no choices, the button is still accessible. Limitations entered will apply mix/max limits to the selection.
- Sort Order: You can use this option when you have multiple buttons. It lets you select the arrangement of the buttons. The lower the sort order defines which ones comes first.
- App: Select the application you want to place your button.
2.Click Save to make the new button available for placement.
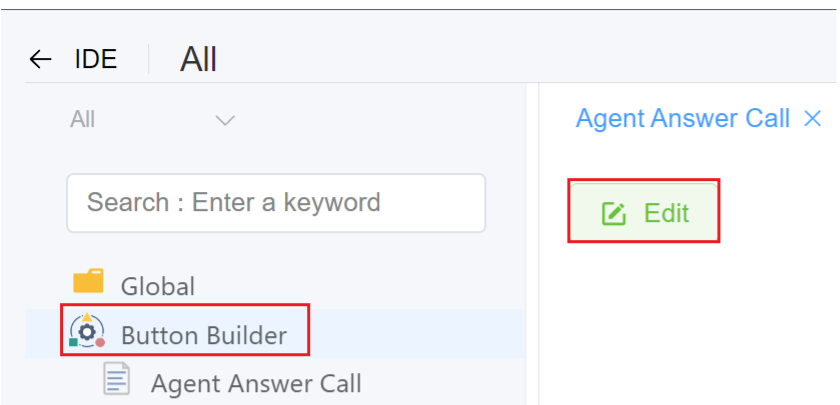
3.The created Button will be visible on the IDE panel under Button Builder. Click on the created button, also you have the option to Edit the button.