ConnexCS Anvil (AI App Builder)
Document Metadata
Category: App Platform → AI & Automation (Anvil)
Audience: Developers, Product Teams, System Administrators, AI Integrators
Difficulty: Beginner–Intermediate
Time Required: 10–15 minutes
Prerequisites: ConnexCS account with App Platform access; basic understanding of UI components and application workflows
Related Topics: App Platform, ScriptForge, MCP Server, API Integrations
Next Steps: Enable Anvil in your application, create a blank project, experiment with chat-based UI generation, explore version control and publishing, and test real-world use cases.
Alpha Feature
Anvil is currently in alpha and may undergo significant changes. Features are experimental and not guaranteed to be stable.
Anvil User Guide
Welcome to Anvil — an AI-powered interface builder that lets you create professional web applications using natural language. Simply describe what you want, and Anvil builds it for you.
Anvil is a platform that transforms your ideas into fully functional web interfaces. You communicate through a chat interface, describing what you'd like to build, and Anvil's AI assistant creates the application for you in real-time.
No coding knowledge required- You describe what you want in plain English, and Anvil handles all the technical details.
What You Can Do
With Anvil, you can:
- Create UI components (tables, text, layouts)
- Modify existing UI using chat prompts (only catered by Anvil)
- Build internal tools and dashboards
- Rapidly prototype applications
- Update applications without manual coding
Use Cases
-
Internal Tools: Build dashboards, reporting tools, or admin panels quickly.
-
Rapid Prototyping: Create MVPs or mock applications in minutes.
-
Customer-Facing Apps: Develop simple web apps without full frontend development.
-
AI-Assisted Development: Enable non-technical users to create applications using chat.
Key Features
Anvil offers a comprehensive set of features designed to streamline web application development through AI assistance:
- Natural Language Development: Build and modify applications using plain English descriptions in a chat interface, eliminating the need for coding expertise.
- Real-Time Preview: Experience instant updates in the development environment as you make changes, with live preview at
[project_id].cnx.dev. - Design Framework Options: Choose from Tailwind CSS (default), PrimeVue, or Vuetify to match your project's visual and functional requirements.
- Starter Templates: Kickstart projects with pre-built templates including Blank, Dashboard, Landing Page, Form Application, and Data Table.
- File-Based Architecture: Access and edit underlying Vue.js source files directly, with full control over the application structure.
- Integrated Version Control: Track every change, compare versions, and rollback to previous states for safe experimentation.
- Build & Publish System: Compile applications and publish to live domains with build history management and version switching.
- Domain Management: Automatic default domains and support for custom domains for professional deployment.
- MCP Integration: Connect with external AI tools and workflows through the Model Context Protocol for advanced use cases.
- Flexible Management: Reset applications to templates or completely remove Anvil from projects as needed.
Design Frameworks
Anvil supports three professional design frameworks. Each creates a different visual style for your application.
Tailwind CSS (Default)
Best for: Projects where you want a clean, modern look with maximum flexibility.
Tailwind is the default choice and works well for most projects. It's lightweight and produces fast-loading pages with a fresh, contemporary appearance.
Style: Clean, minimal, highly customisable
PrimeVue
Best for: Business applications, data-heavy interfaces, and enterprise software.
PrimeVue provides a polished, professional look with a complete set of sophisticated components. It's ideal for dashboards, admin panels, and applications that display lots of data.
Style: Professional, feature-rich, enterprise-grade
Special features: - Advanced data tables with sorting, filtering, and pagination - Date pickers and calendars - Tab panels and accordions - Toast notifications - Dialog windows
Vuetify
Best for: Applications that should look like Google products or follow Material Design principles.
Vuetify implements Google's Material Design language — the same design system used by Gmail, Google Drive, and Android apps. It creates a familiar, modern interface that users already know how to use.
Style: Material Design, Google-like, modern Android aesthetic
Special features: - Material Design Icons - Familiar UI patterns from Google products - Consistent, tested design language
How to use Anvil?
- Navigate to IDE.
- Create or Select an App: Start by either creating a new app or selecting an existing app.
-
Enable Anvil:
- Hover over the
Settingsicon. Enable Anvilfrom the options.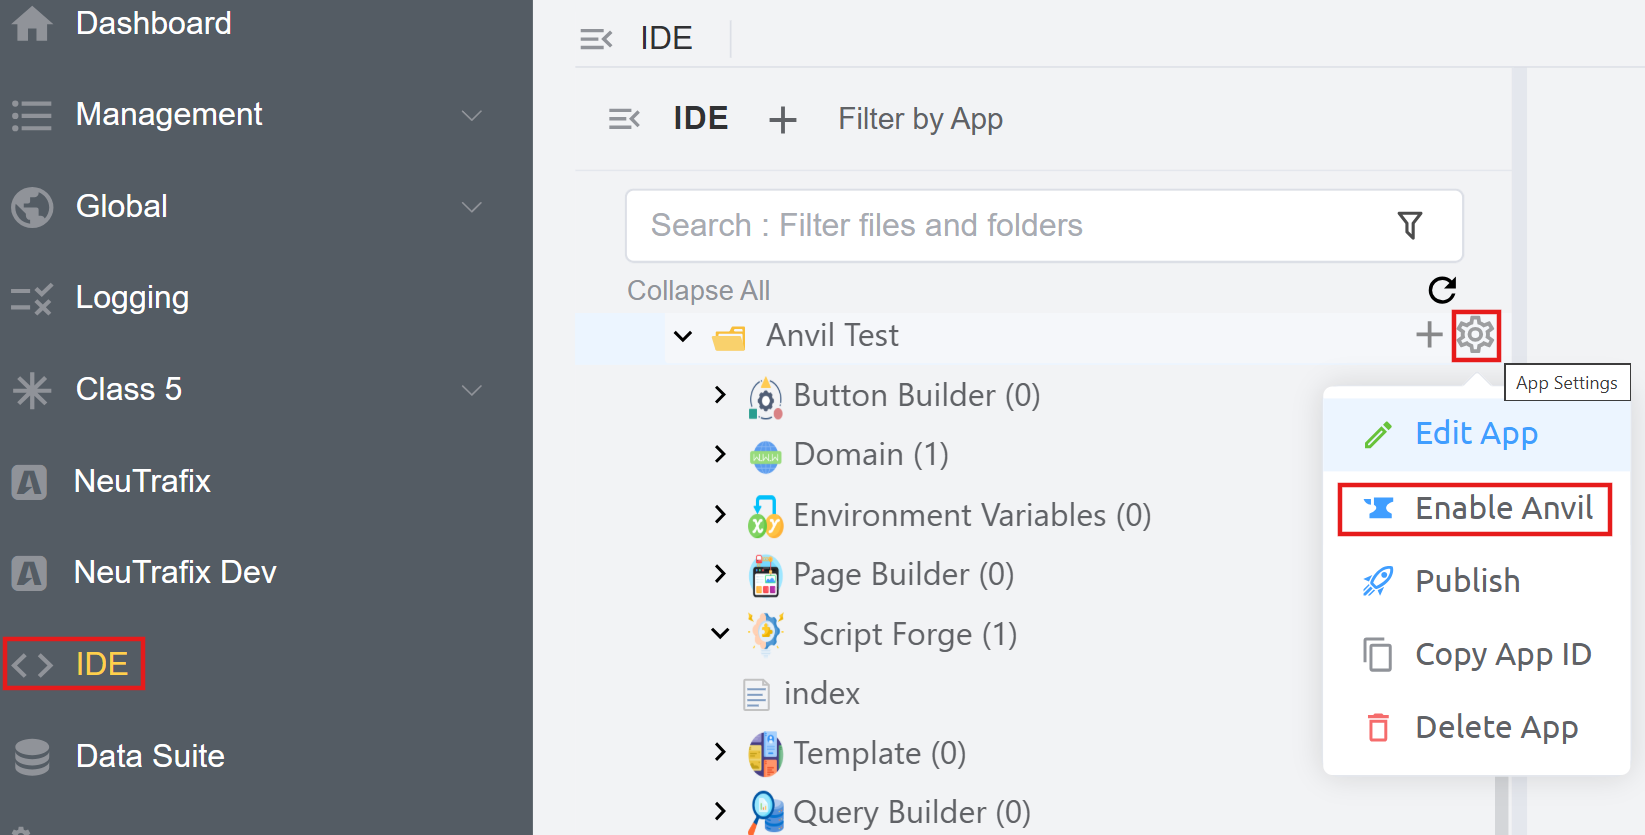
- Choose a starter template based on your needs. Click here to know more about the Starter Templates.
- Click on
Enable Anvil.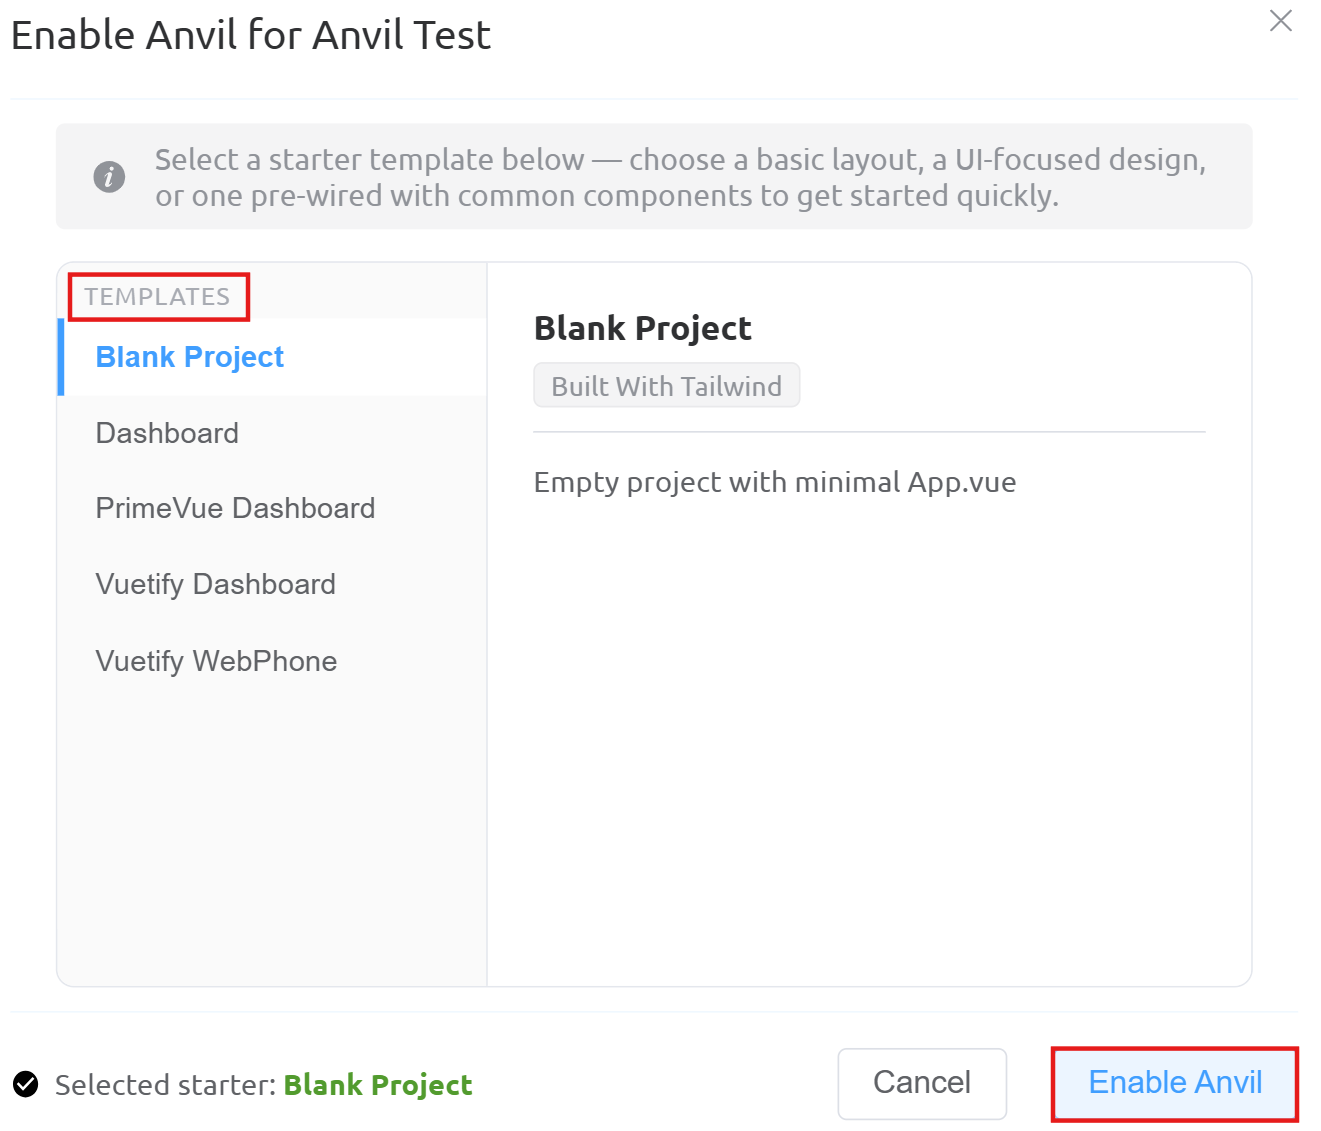
- Hover over the
-
Explore the Anvil Folder
- After enabling Anvil, a new folder named
Anvilwill appear in your app. - Open the
Previewfile inside the Anvil folder.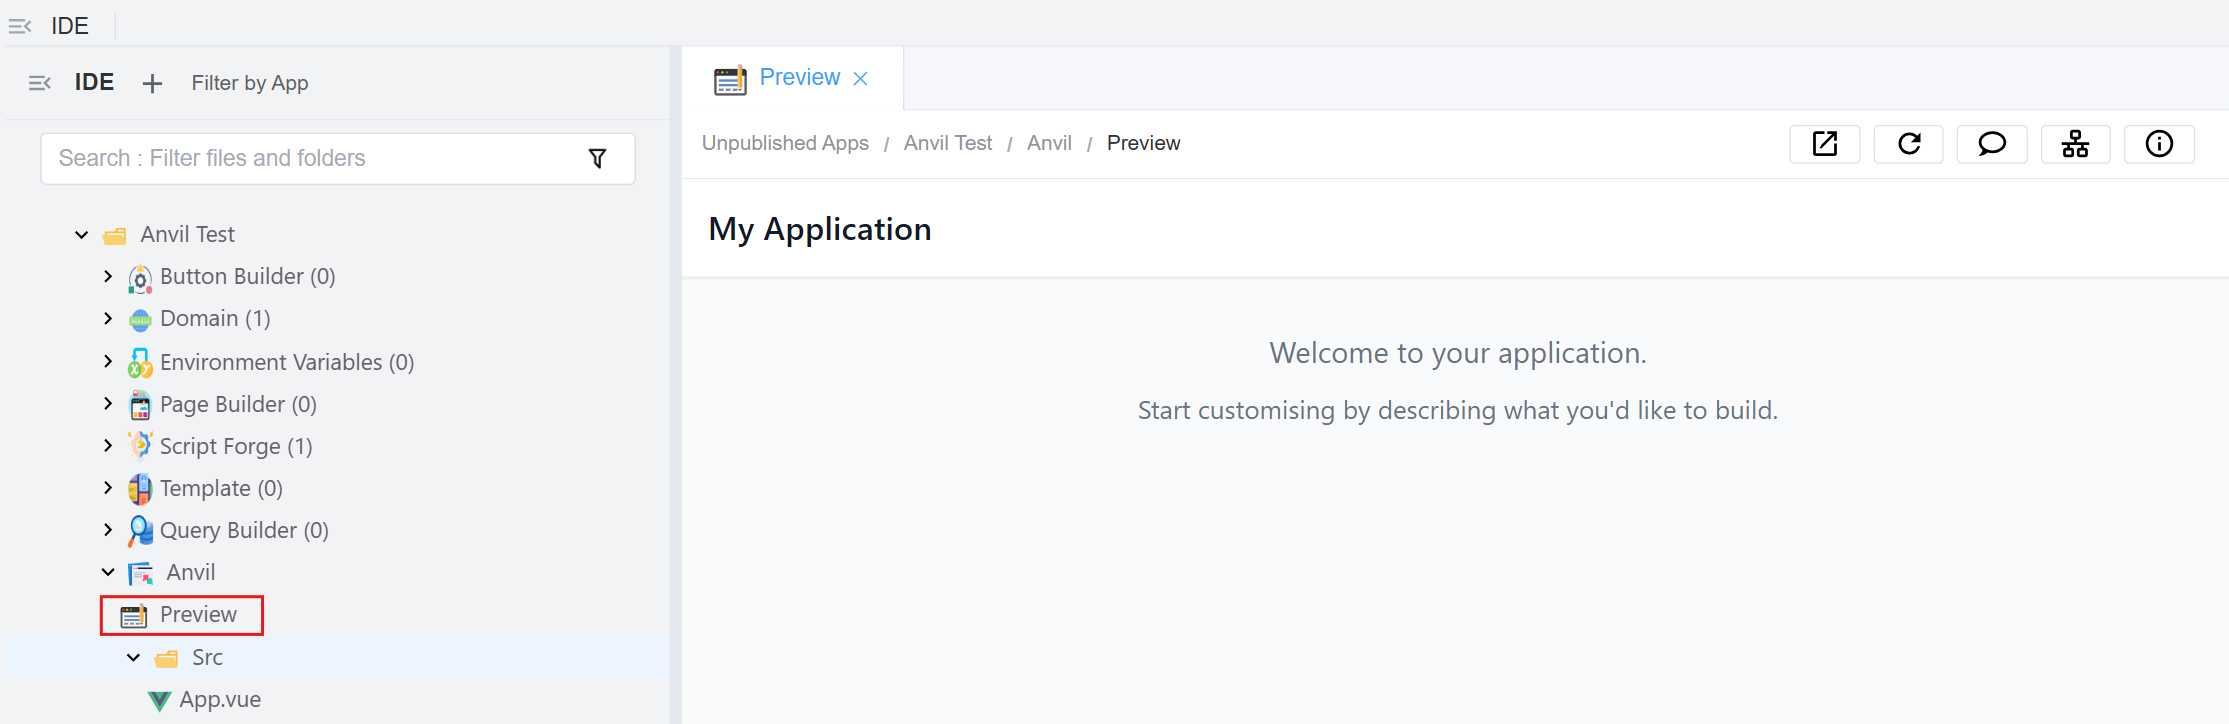
- Let's go through the buttons on the top-right (left to right):
Open in New Window: Opens your application preview in a separate browser tabRefresh: Reloads the preview.Open AI Chat: Opens the Anvil chat interface for interactions.MCP Info: Shows MCP-related information for the app.Anvil App Info: Displays application-level details
- After enabling Anvil, a new folder named
-
Start Interacting with the UI: Click on the
Open AI Chat. - Click on
New Conversation. - Before initiating interaction with the AI chatbot, you can configure a few initial settings:
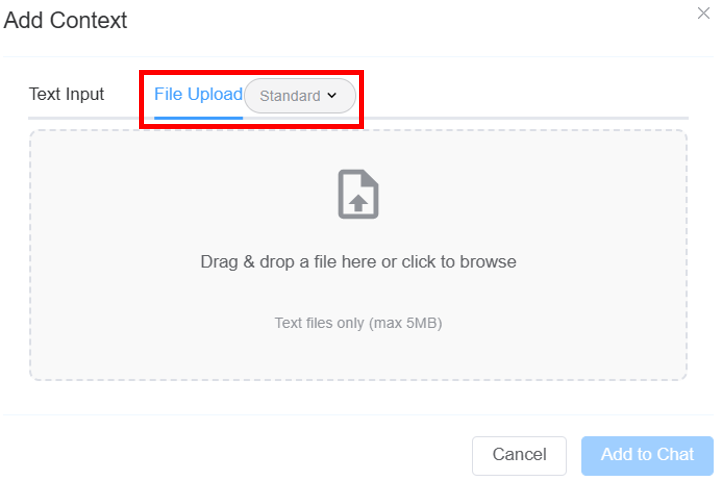
Add Context(optional field): Allows you to provide additional information to the AI before or during a conversation so it can give more accurate, relevant, and helpful responses. You can either addText Inputor upload text files usingFile Uploadoption.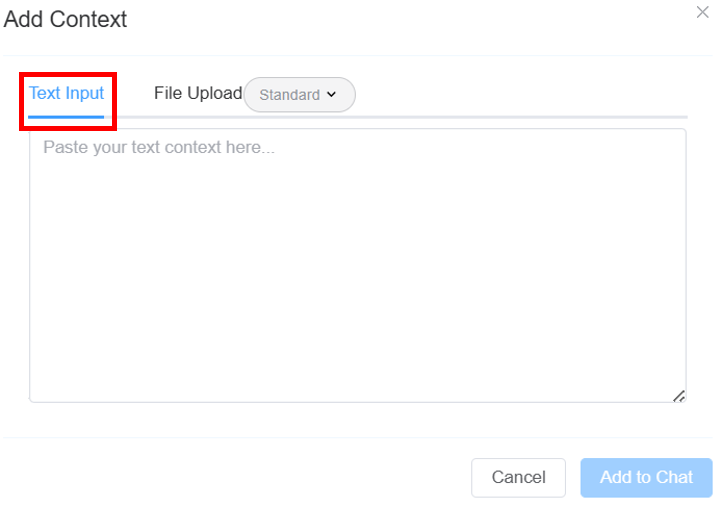
 .
.
ClickAdd to Chat.- Select the mode of the model:
Standard(default): A fast model focused on quick results.Expert: A reasoning model, takes longer to respond.
MCP Severs: Allows you to select the MCP server the AI uses to access tools, data, and integrations for performing actions during the conversation.Togglefor fullscreen.
-
Start entering instructions into the chat window. For example, I used:
change "welcome to your application" to "hello".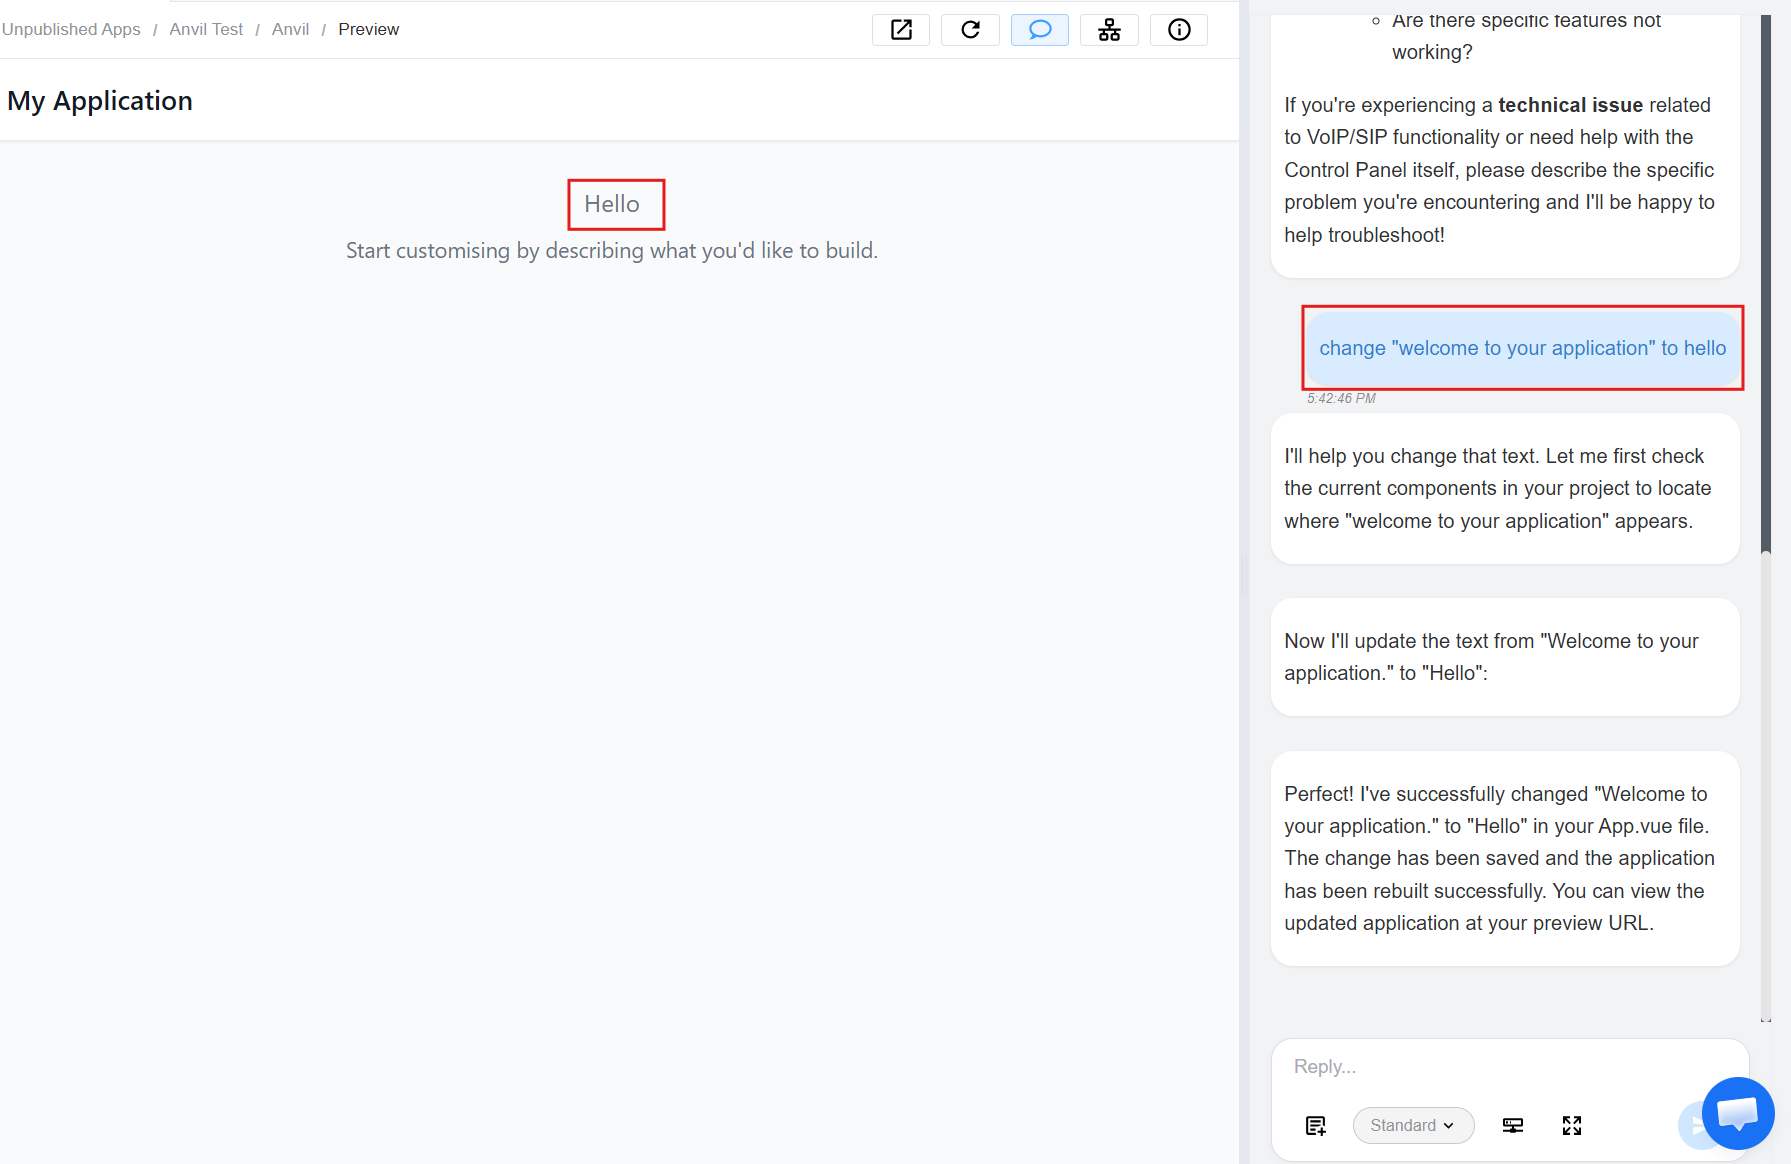
Example
-
Navigate to the
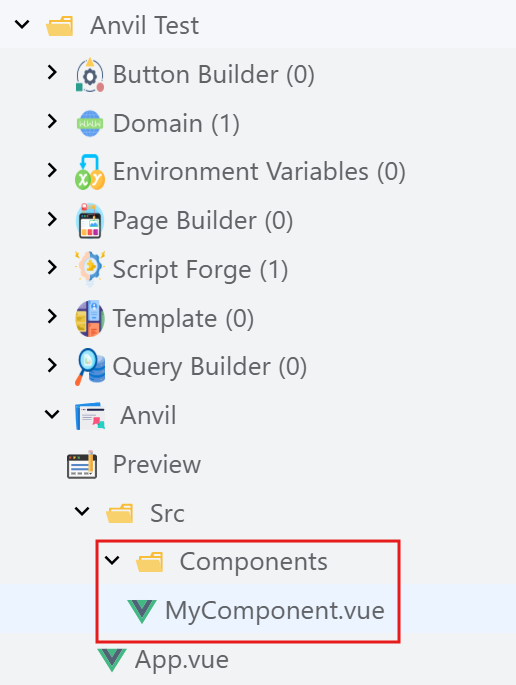
Srcfolder. It contains all the application source files, including UI components and logic, which define how the application is built and behaves.- You can also create a new source file.
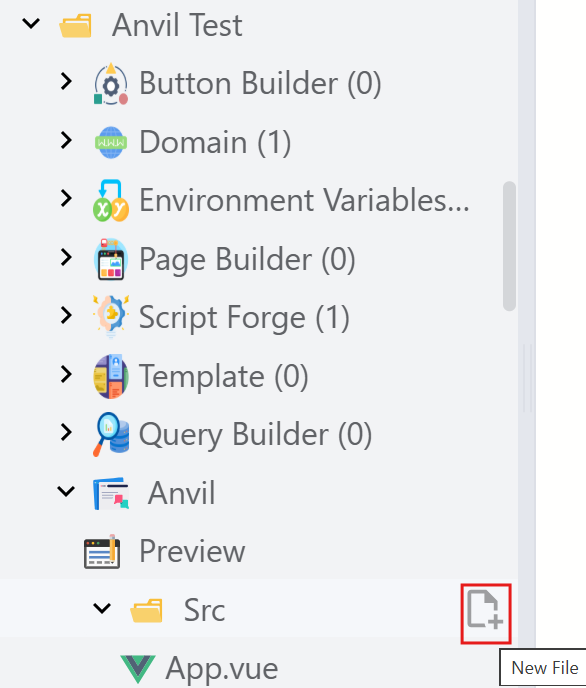 .
. - Click on
Create File.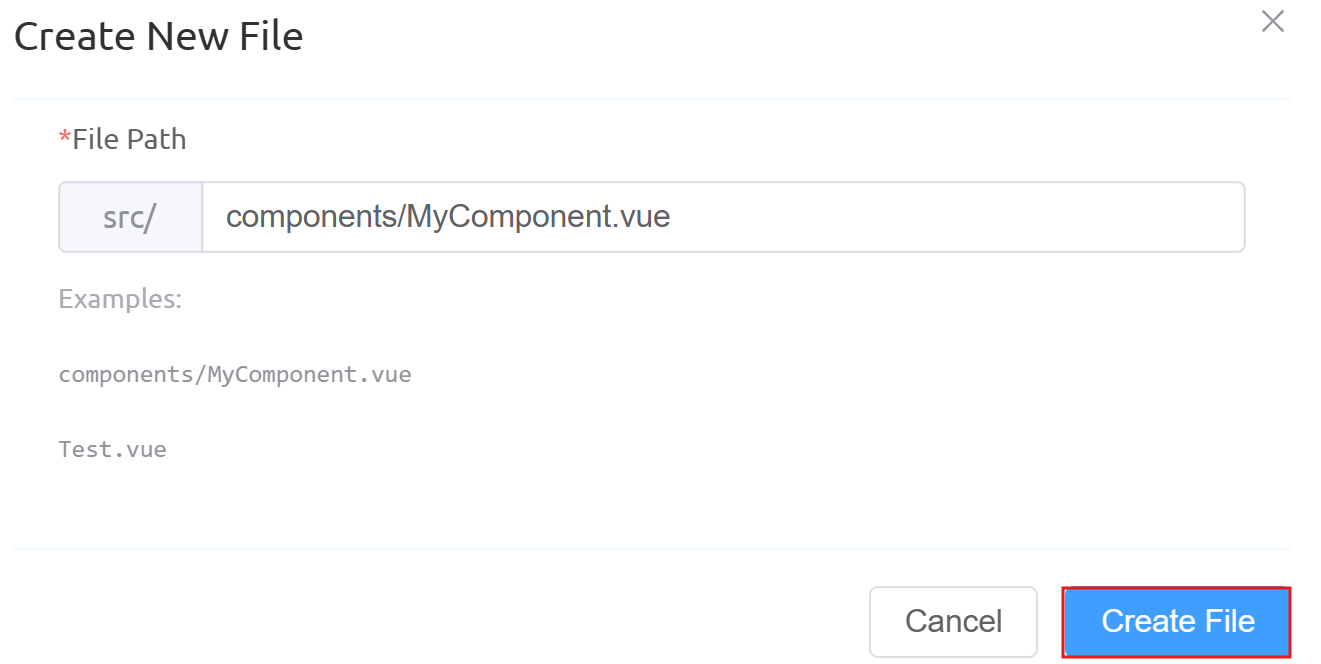 .
. - A new file will be created. This file can be deleted and is not necessary for Anvil execution.
 .
.
- You can also create a new source file.
-
The
App.vuefile is the main application file that controls the overall UI structure, layout, and core functionality of the app. This is a mandatory file to execute the Anvil App and cannot be deleted.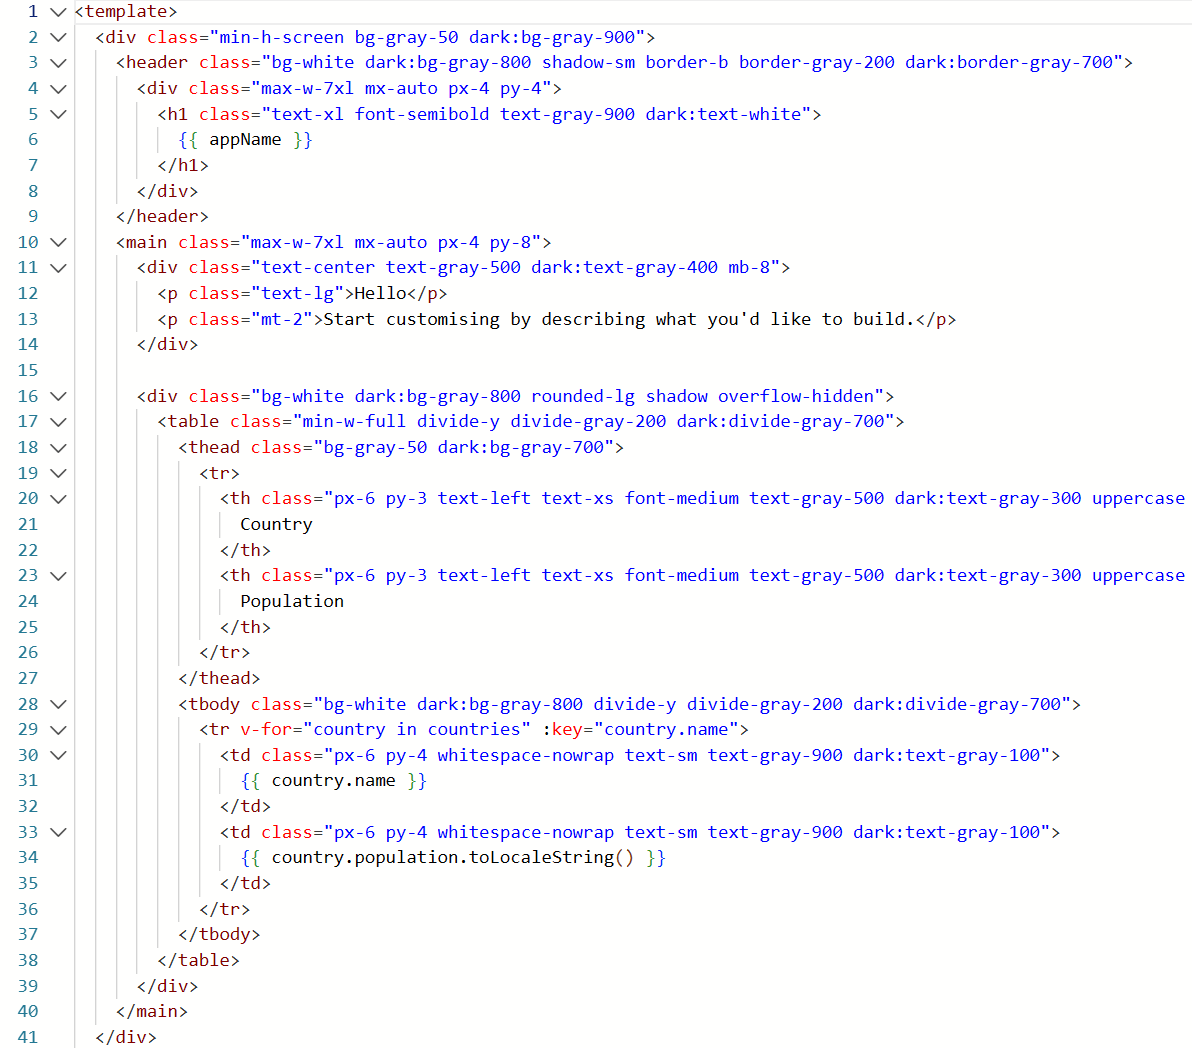 You can
 editthe code on this page as well. -
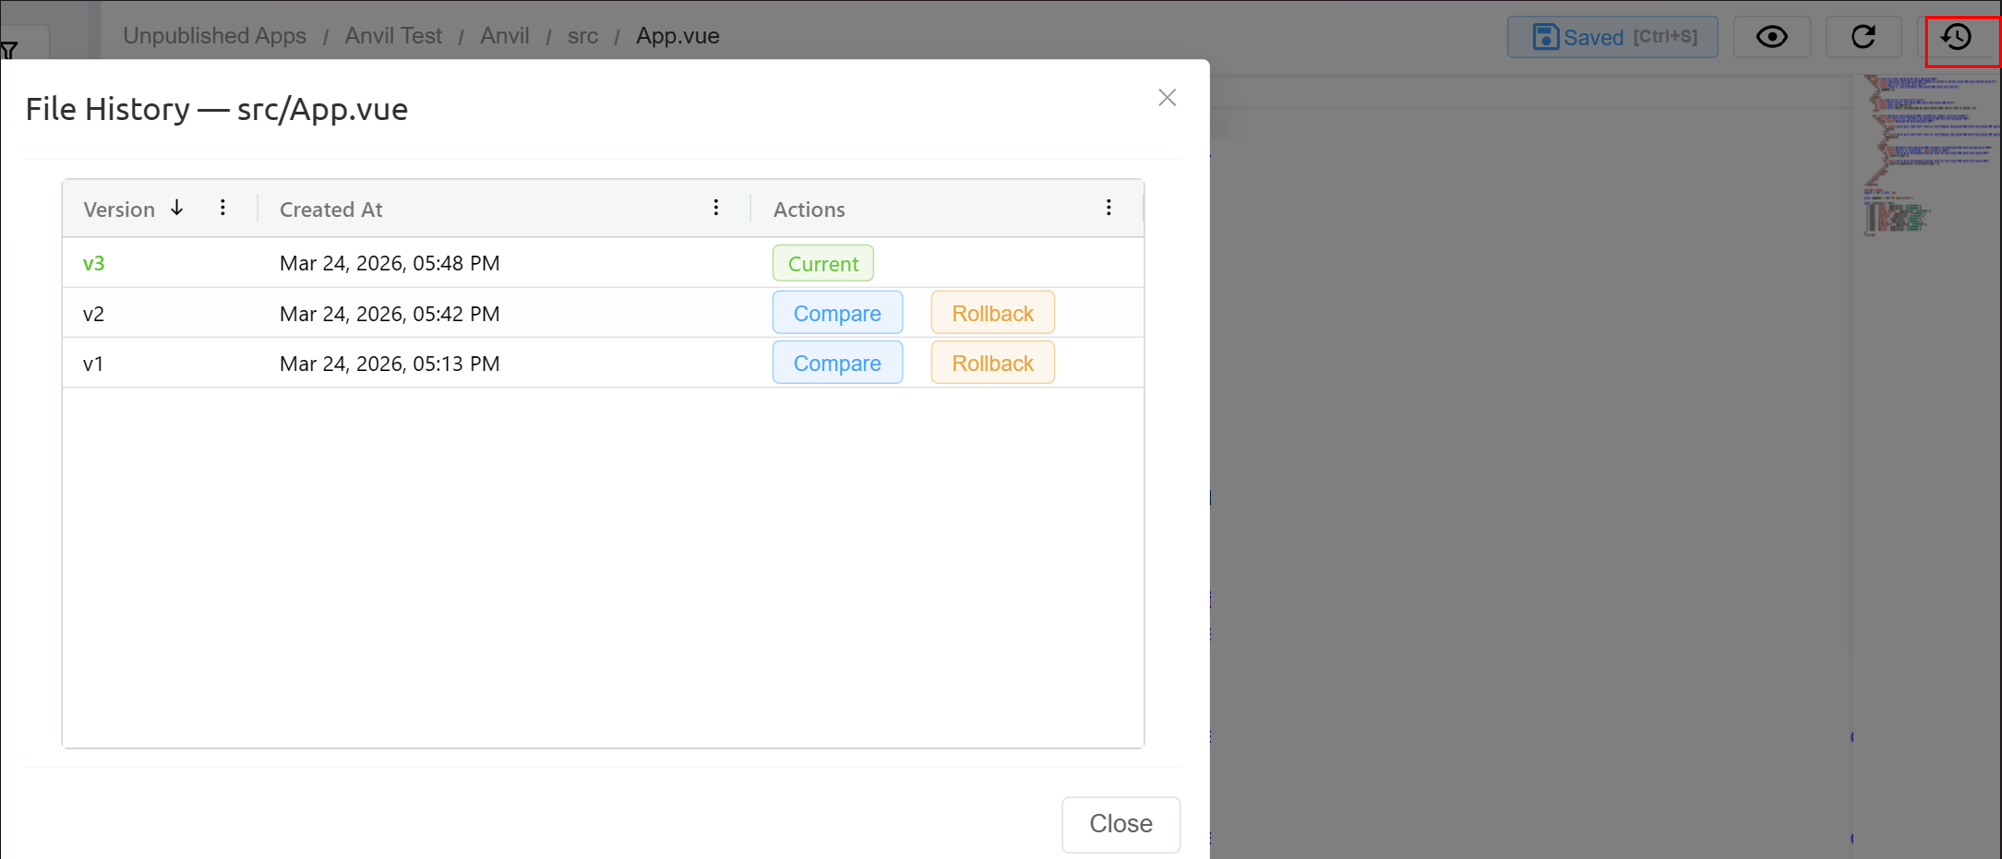
Click on
File History. It provides version control for files (e.g., App.vue), allowing users to track changes and restore previous versions.
Key Features:- Each change creates a new version (v1, v2, v3).
- The latest version is marked as Current.
- Compare allows viewing differences between versions.
- Rollback restores a selected version as the active one.
-
View Changes:
- Hover over the Anvil folder and click on
Settings. - Open the
Changessection, where users can see all modifications.
- Go to
Build & Publish.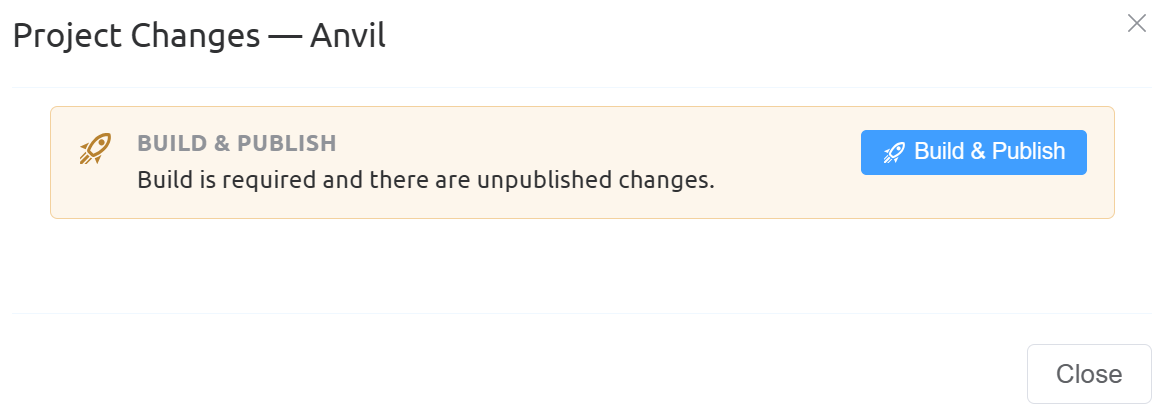
- Run the build process and publish the app.
- Hover over the Anvil folder and click on
-
Domain Setup: Configures a public URL to share the application externally.
- Create a
new domainfor the Anvil platform. Click on the+sign.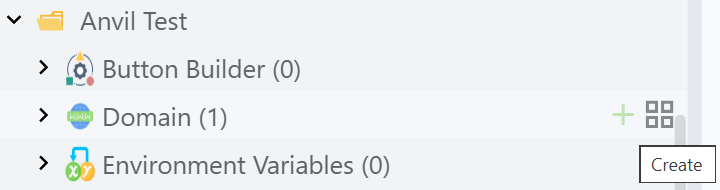
- Enter the
Domainand select thePlatformasAnvil.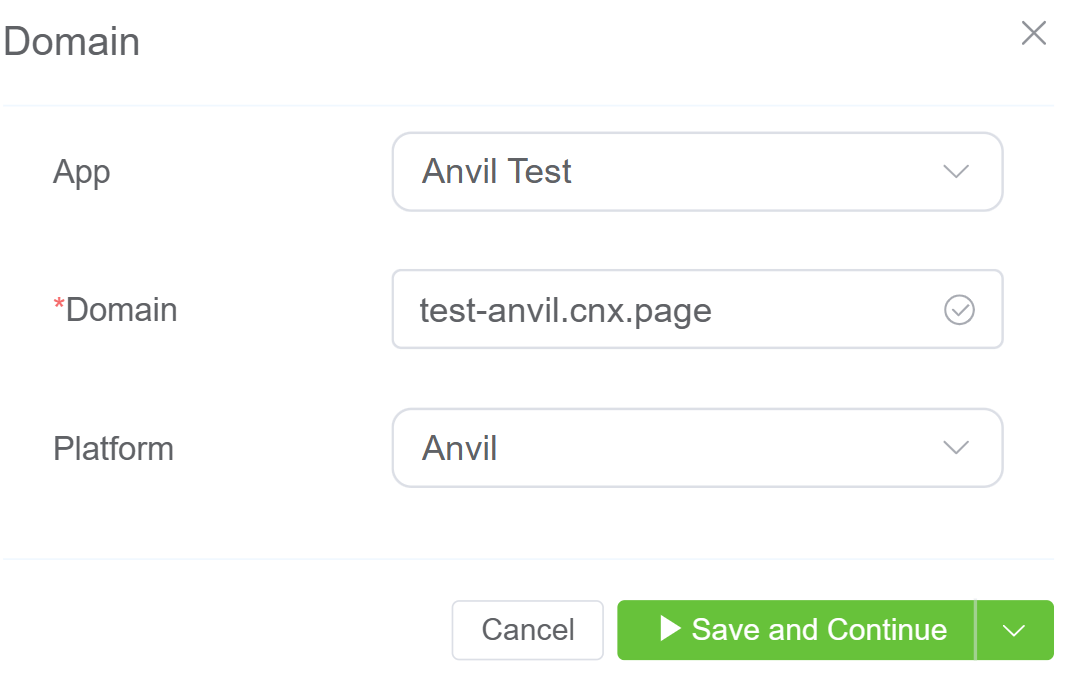 Click here to know more about the Development and Live Environments.
- Create a
-
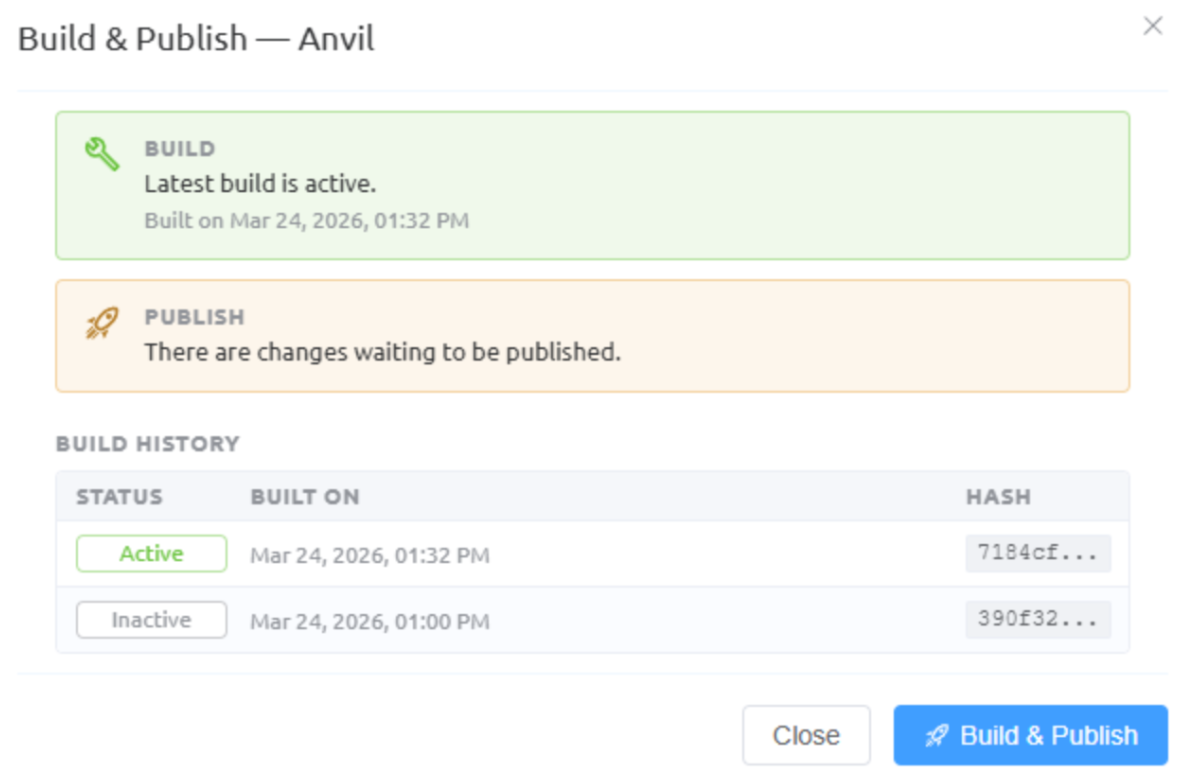
Rebuild and Version Control
- Make additional changes and run another build.
- The Build section shows the currently active version.
- If changes are pending, the Publish section will indicate updates to be deployed.
- Click Build & Publish to create a new version.
- Build History lists all previous builds.
- You can select and activate a previous build to revert changes.
- You can set any version as
ActiveorInactiveas needed.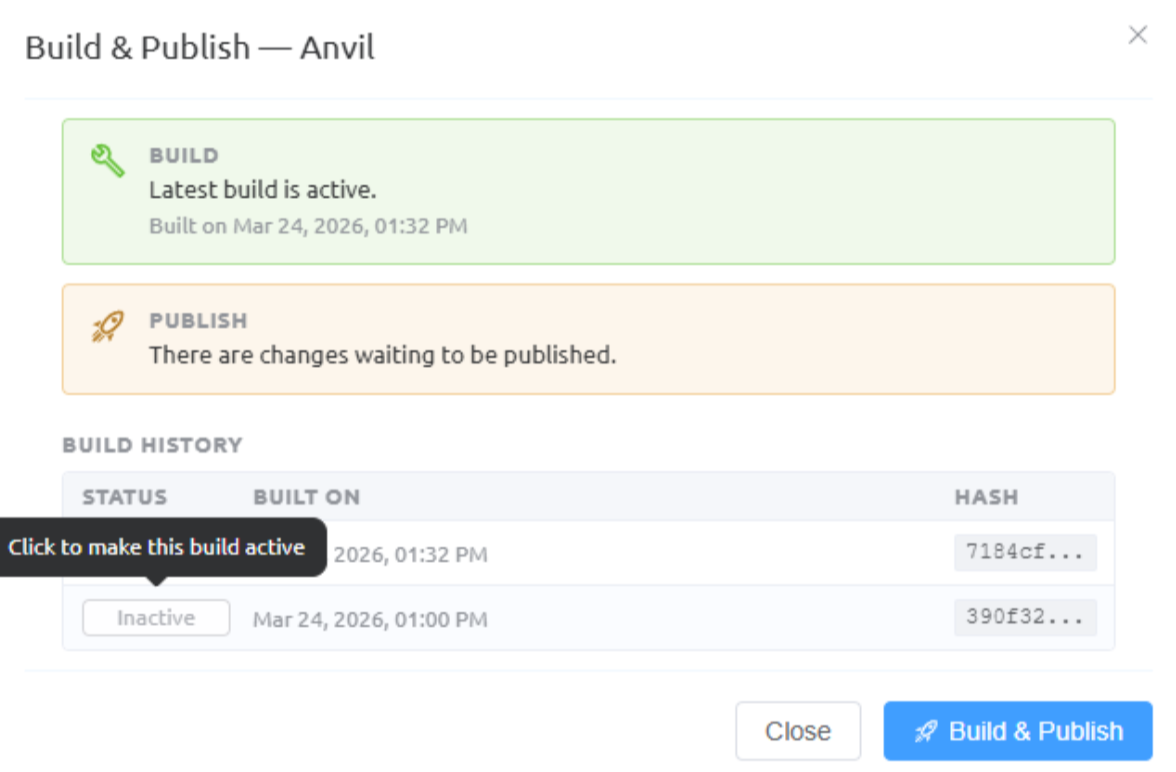
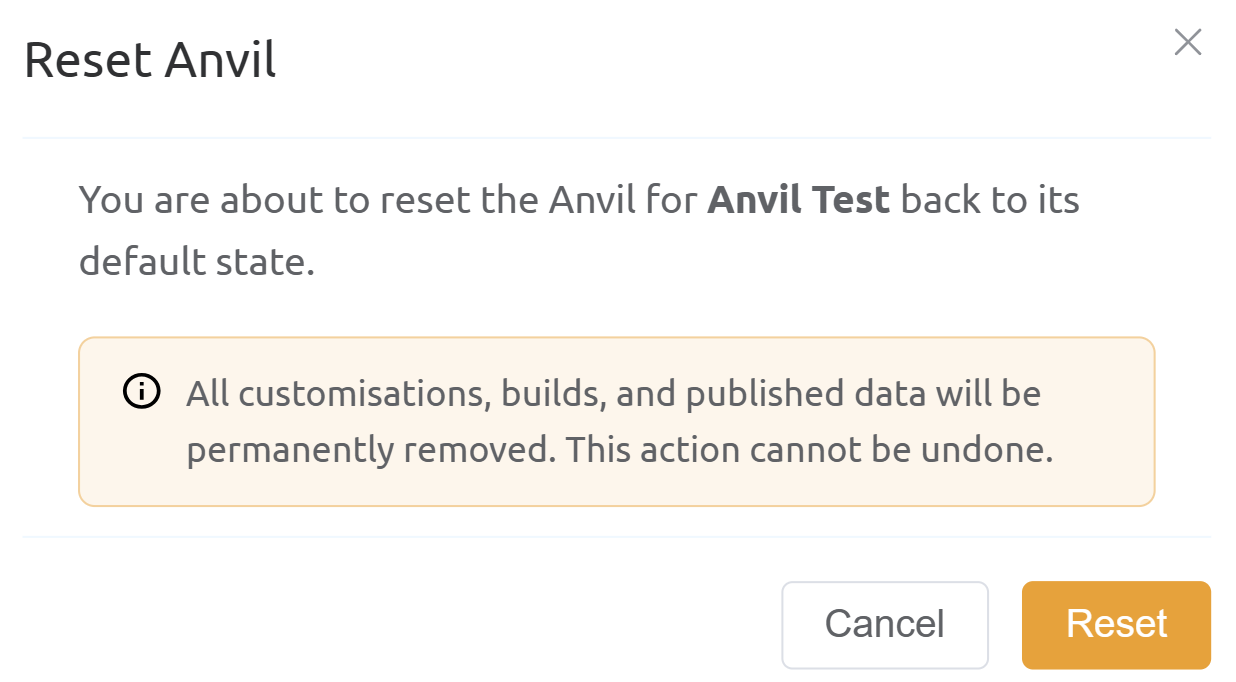
-
Reset Anvil: Resets the application to the original starter template, removing all current changes while keeping Anvil enabled.
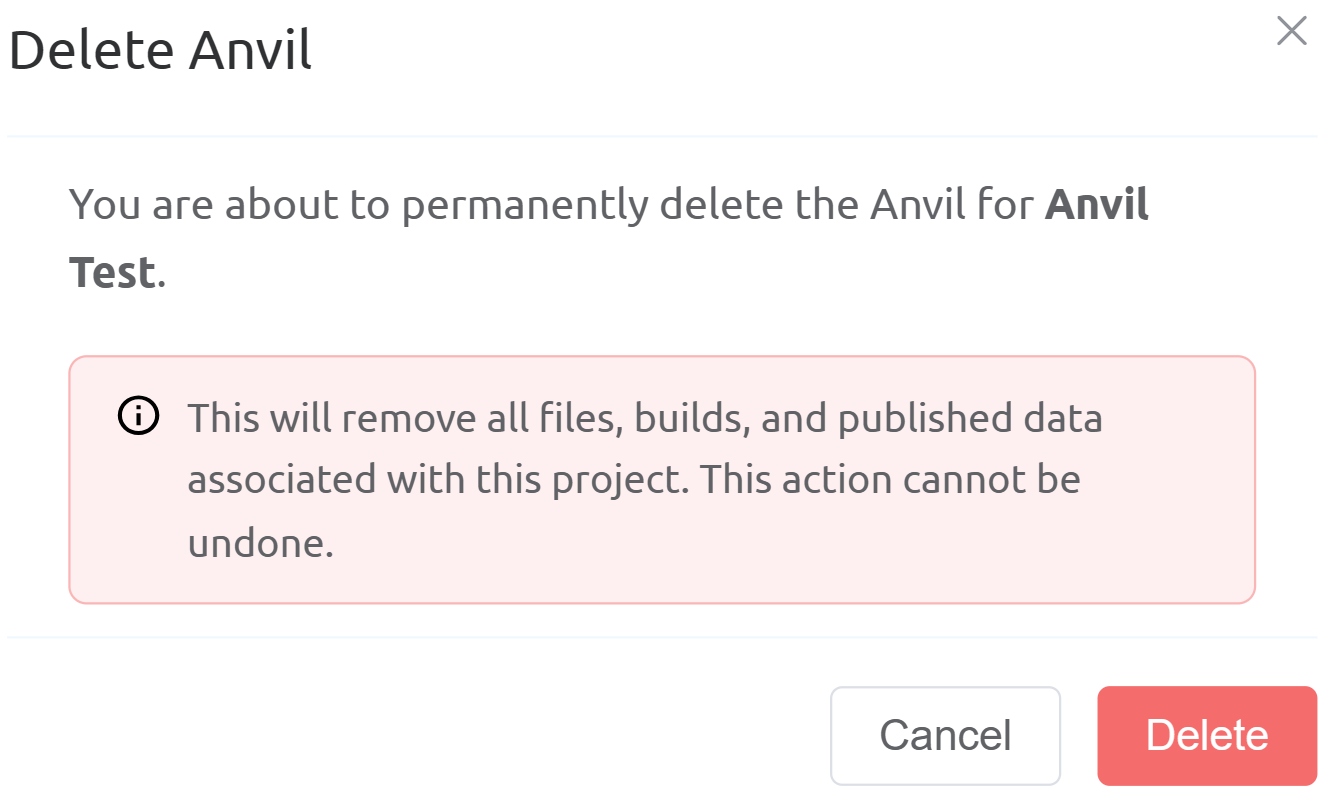
-
Delete Anvil: Removes Anvil from the project entirely, disabling its features without deleting the overall project.
Starter Templates
Starter templates give you a head start by providing pre-built foundations for common project types. You can customise everything — they're just starting points.
Available Starters
| Template | Description | Best For |
|---|---|---|
| Blank Project | Minimal starting point | Building from scratch |
| Dashboard | Admin interface with sidebar navigation, statistics cards, and user management | Business dashboards, admin panels |
| PrimeVue Dashboard | Pre-built dashboard using PrimeVue components and styling | Modern UI dashboards with rich components |
| Vuetify Dashboard | Dashboard template using Vuetify framework with material design components | Material design-based applications |
| Vuetify WebPhone | Web-based phone interface with calling features using Vuetify | VoIP apps, softphone interfaces |
If you're not sure which to pick, start with Blank Project — you can always ask the AI to add features as you go.
Development vs Live
Your project has two environments:
Development Environment
URL: [project_id].cnx.dev
- Updates in real-time as you make changes
- Use this while building and testing
- Changes appear instantly without refreshing
- Only you (and anyone with the link) can see it
Live Environment
URL: [name].cnx.page or your custom domain
- The published version of your application
- Optimised for speed and performance
- Publish when you're ready to share
- Cached for fast loading worldwide
Think of development as your workshop and live as your storefront.
Tips for Better Results
Be Specific
Instead of: "Make it look better"
Try: "Use a blue colour scheme with rounded corners on the cards and more spacing between sections"
Describe the Purpose
Instead of: "Add a form"
Try: "Add a contact form so visitors can send me messages. Include fields for their name, email, and message."
Iterate Gradually
Build your application step by step rather than trying to describe everything at once. Start with the basic structure, then add features and refine the design.
Reference What Exists
If you want to change something, describe where it is:
"In the sidebar, change the background colour to dark blue"
"Move the login button to the top right of the header"
Power User Features
For technical users who want more control, Anvil's capabilities can be accessed directly through the MCP (Model Context Protocol) interface. This allows integration with other AI tools and custom workflows.
Contact your administrator for MCP endpoint details and API documentation.
Getting Help
If you're stuck or the AI doesn't understand what you want:
- Rephrase your request — try describing it differently
- Break it down — ask for one change at a time
- Be more specific — include details about colours, sizes, or positions
- Reference examples — mention similar websites or applications
The AI learns from context, so the more clearly you describe your vision, the better the results.